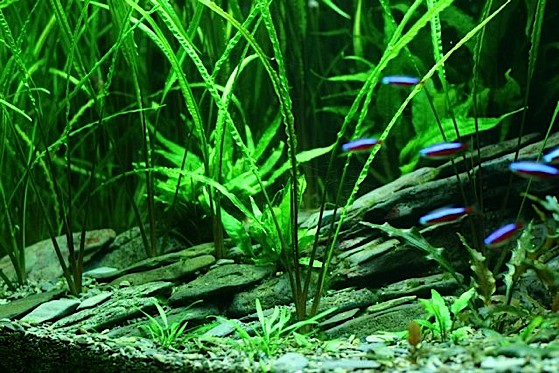
The goal of the true ‘naturalist’ aquatic designer should be an interpretation of the natural environment, fashioned as much as possible by the forces of erosion, deposition and plant colonisation and as little as possible by the hand of man. Style is a very personal thing. There are no rules, but for me the exposed ‘grain’ of a water worn river’s edge has a much richer tale to tell than the random coalescing of the materials – rocks and driftwood in mid-river which appears to be a popular starting point for many aquarists.
Natural Inspiration
There is much to be gained by going to rivers and lakes to see for oneself, as Mr Amano regularly suggests. With the wisdom of hindsight I have come to better understand my life’s subconscious quest – for the perfect rock strata materials from which to create a natural theatre for the mysterious dramas of the freshwater aquatic world. Unfortunately perfection, like a rainbow, is impossible to touch. We can only aspire. The quest continues.
We live in a country with a great variety of landscape forms and geology to inspire the aquarist. Here in Wales we are blessed with a beautiful sedimentary landscapes and formations whose history of deposition is clearly visible in its natural profile. The enhancing effects of weathering, erosion and attrition are a great inspiration to any true Nature Aquarium enthusiast.
The Strata Line
When using slate or other sedimentary material the strata line is probably the single most important design element in achieving a natural look with a sense of scale. Continuity and consistency of strata are vital or rockwork can resemble little more than a pile of rubble. Choose a jaunty angle and stick with it. I personally use 40° or less, from horizontal and continue the same angle in the positioning of all rocks and stones, more or less right across the aquarium.
This will automatically create a sense of scale of an underlying geology that quite correctly should dwarf the size of fish and even plants as it would in nature. Scale in aquarium design, as the word suggests is about relativity. Very large tanks require bold statements with very large rocks and driftwood bringing all the attendant problems of weight on floors, joists etc. If loading is an issue smaller rocks can be used to great effect if strong strata lines are ‘coaxed’ into the arrangement. Think dry stoned walling, only a bit looser. An infinite variety of size should be used where possible from large rocks to fine sands and everything in-between.
Grading Gravels to Replicate Nature
The significance of this becomes apparent when the gravel and sands are graded and placed in the aquarium in the same way as can be found in rivers and streams where there is rock outcropping and some current in the flow of the water. If possible, rocks, stones, pebbles and sand of the same colour should be used. Homogeneity of parent rock, stones, gravels and sands becomes a beautiful component in the outcome of the design. TGM has a selection second to none.
In nature finer, lighter materials are carried further before settling out and in stronger currents they literally sandblast the bigger rocks and boulders until they are smooth and streamlined. Any flat rocks with good grain can be leaned against the rear of the tank (GENTLY!) providing a good backdrop and keeping the overall weight down. They can also be used to conceal filter uptake pipes (plastic ones only) and to form caves for more timid species of fish.
Order vs Chaos
Lastly, avoid the temptation to over elaborate. Although the debris of erosion settles into natural rhythms and patterns, there is always a random element. The trick is to strike a balance between order and chaos. From the strong linear diagonal strata to the random placing of pebbles and small stones the forces of nature involved in erosion and deposition, can be mimicked.
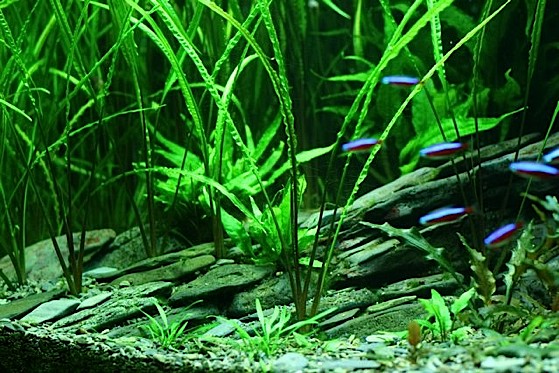
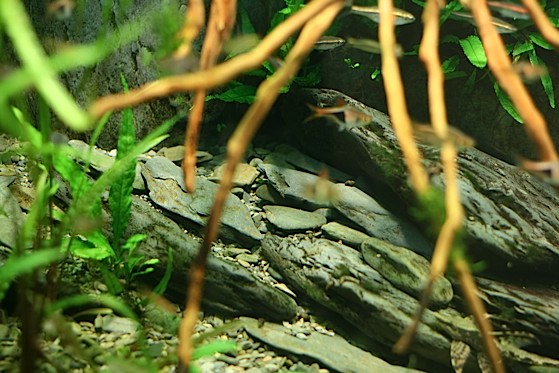
Above: Graded Gravels can be used to mimic nature.
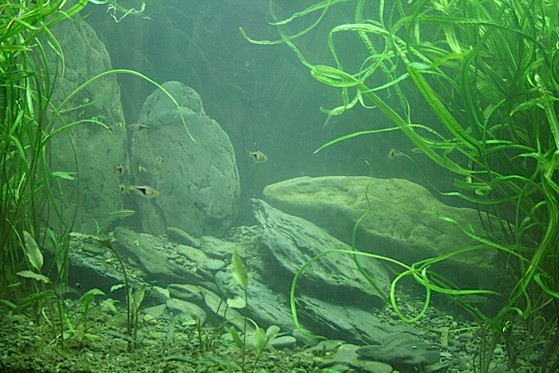
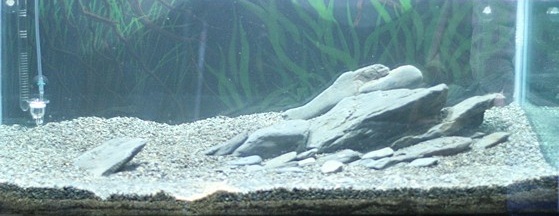
Above: Illustrating the importance of the Strata Line.
Do not assume that this artwork will ever be finished. After time you may see potentially better arrangements of the rocks and stones with which you are now familiar. Fine tuning can make a big difference. Devil in the detail and all that. And then of course there’s the planting but that’s another story for another day. Remember that simply adding the water will change the picture dramatically. The magnifying/compressing optical effect of a full tank may lead you to different conclusions but the simple act of filling this glass box with water is to wave a magic wand transforming what was a few angled stones and grit into a mystical underwater world.
Handy hints & tips
- Choose the right, materials. This is the single most important decision to be made.
- Grade into sizes. Also into best, average and least interesting samples using the poorest as foundations, (mostly hidden) to support any outcrop.
- Choose a good strata angle and stick with it.
- Play around with shapes on a clear surface to see which fit together most sympathetically before introducing them to the tank.
- Build up from the bottom with smaller pieces, saving the larger most sculptural and best profile rocks for the prime locations.
- Avoid obvious symmetry. Balance can be achieved asymmetrically. Think of a seesaw with big weight and little weight at each end and where the pivot would be.
- Don’t over elaborate – leave an element of the random.
- Chill Out, tune in to the rhythms of nature and get in touch with your artistic soul!
Like this article? Other articles by The Green Machine that might interest you are;
- Graded Gravels and Decorative Sands: A Guide
- Hardscape Buying Guide
- Aquatic Layout Guide: Rules of Composition: The Golden Ratio, Creating Perspective and Layout Shapes
- Minimalism Within the Planted Tank
Article and photos by Andrew Mack

Is that Mr Mack? My fave teacher of all time who once sent me during class to WHSmith to buy the latest Santana album. If I mention the Joggle Song it’ll all make sense! H.