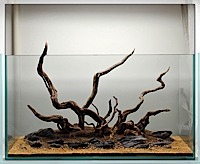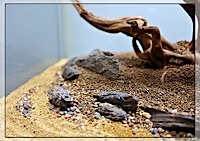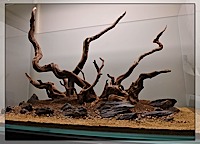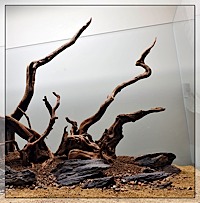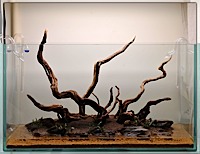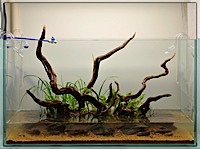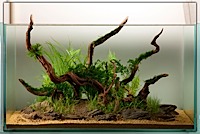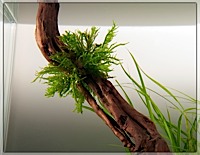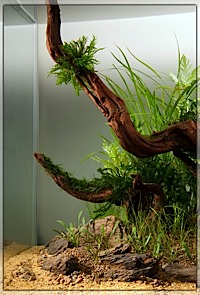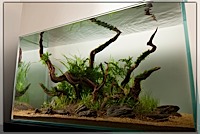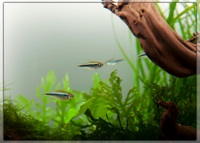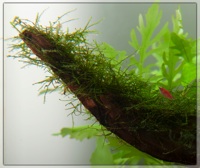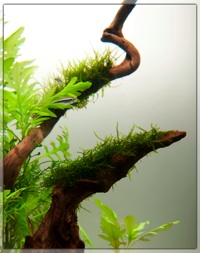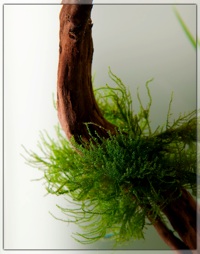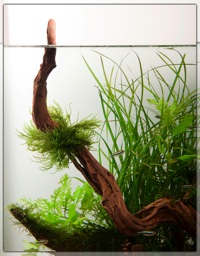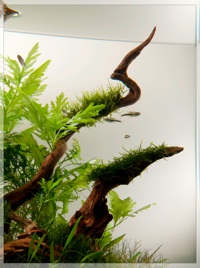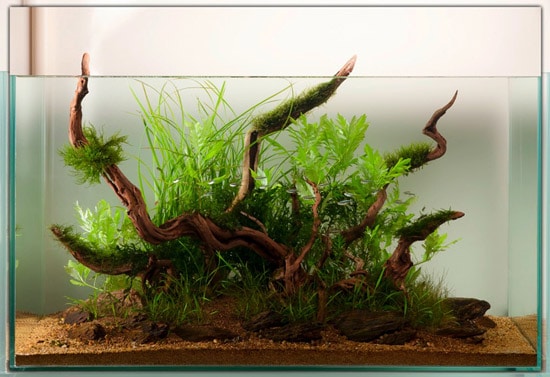
The above image shows the finished aquascape 17 days after planting.
A short while ago we met a guy venturing into his planted tanks for the first time by the name of Tony Swinney. On a personal basis we hit it off with Tony straight away, he is a nice lad from the North East of England who earns his living as a professional photograph retoucher. After buying his optiwhite tank from us here at TGM, was kind enough to compile this journal of his first serious venture into the world of aquascaping. We are very impressed with Tony’s work and thought the journal would make a fantastic feature on our newsletter and website.
The hardscape is stunning and Tony’s photographic eye has obviously been very useful in this respect. This tank can only get better as it matures and we hope to provide some updated images in a month or two. It is always a pleasure to showcase work of this kind and many thanks to Tony for letting us do so.<
Setup Specifications
- Aquarium – 100w x 45d x 55h 10mm Optiwhite, rimless and braceless (200L)
- Filtration – Tetratec EX1200 & Eheim 2075 filters (total 2400 LPH), PM glassware,
Sera Siporax media - CO2 – AquaMedic 1000 CO2 reactor, FE pressurised, solenoid on timer (8am – 1pm)
- Heat – Hydor 300w inline 26°C
- Lighting – Arcadia luminaire 4 x 39w T5HO (2 x Hagen Power-Glo, 2 x Hagen
Life-Glo) on timers ( 2 tubes only 10am – 4pm) - Substrate – ADA Sarawak Sand (5L), ADA Aqua Soil Malaya (18L), TGM Graded Gravels, 20 x TPN+ Capsules & mulm embedded
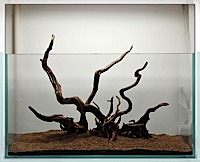
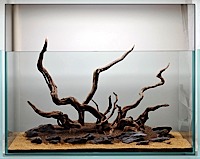
- Décor / hardscape – Fossilised / Petrified Wood, Redmoor Root Wood
- Fertiliser – ADA Bright K, ADA Brighty Step 1 (both 25% dosage initially)
- Plants –
Step by Step
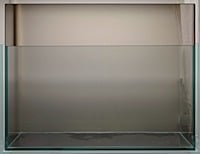
1. Take one clean tank
01/06/09
Day 4 (since planting)
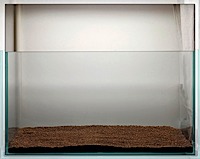
The plants arrived last Thursday, so I added enough water to cover the foreground
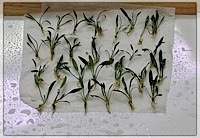
substrate, and the began. I split 4 pots of Cryptocoryne parva into 29 plantlets, and started with them in the
foreground.
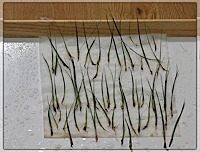 Then split 4 pots of Eleocharis parvula into 99 plantlets, and positioned them
around and behind the Cryptocoryne parva.
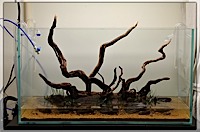 Next was the Hygrophila difformis, which makes up the midground behind the roots, and then the Cyperus helferi at the back on the left (2 pots = 8 plants). I also stuffed the Monosolenium tenerum (pelia) in the crevices and alcoves within the roots.
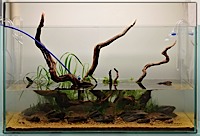 This is the point where it nearly went wrong! The right hand piece of wood started to shift a little, and was just about to float up when I got my left hand on it to hold it down. I managed to grab a plant bag and fill it with gravel with my other hand and got that to weight the wood down without to much damage done.
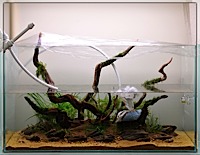 So I now had an issue! I didnt want to fill it any more incase the other woods started floating, but I had the substrate planted so I needed to get the filter running, temperature up, and CO2 in there. The lily pipes would not reach the water level, so I made up some inlet and outlets from some push-fit plumbing fittings that I had around so at least I could get the filter running. I also chose to add the mosses to the roots, and clingfilm the top of the tank so they wouldnt dry out.
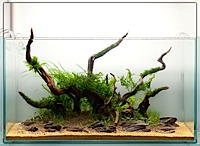 Over the weekend, I kept spraying the moss, and gradually increasing the water level, whilst watching for floaters, and by this morning I got it filled completely. The plumbing pipework has now gone, and the glassware is all installed, both filters are running along with the heater and the CO2.
07/06/09
Day 8
Having had a minor disaster, when the bits of root tried to flat up to the surface, the tank had to be stripped down and rebuilt, so I weighted down the roots this down (with marine ply screwed to their bases and filled with gravel). I’ve attached the Bolbitis heudelotii now to various parts of the roots. I suspect there will be alot of die-back on this, but then it should create fresh growth and start layering. The plants I had were very large so the individual leaves are quite long and a bit spindly.
15/06/09
Day 17
The tank is coming along nicely! The Hygrophila difformis is really taking off, and there are runners
appearing from the Echinodorus tenellus and the Eleocharis parvula too. The Bolbitis heudelotii is dieing back quite a bit, so the dead leaves keep getting trimmed, but there are new stems starting to appear too.


