
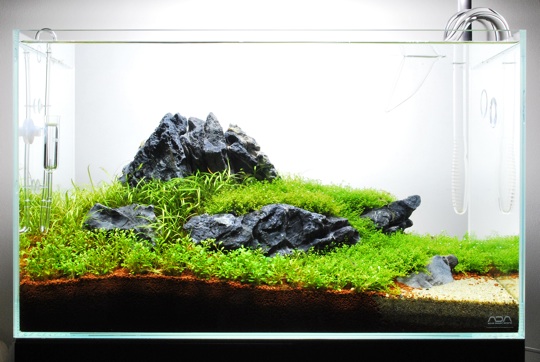
Full write up further down the page…
Congratulations to James Starr-Marshall, a customer of The Green Machine, for being selected to showcase what can be achieved with the ADA Nature Aquarium system. This Aquascape Journal was created and photographed by James Starr-Marshall – yet again, the ADA Nature Aquarium system is showcased to narfection!
ADA are looking for more people like James; people with a passion for aquascaping, an eye for photography and some experience of working with the ADA or Do!aqua Nature Aquarium systems, to show their potential and demonstrate the natural beauty and success that can be achieved with the ADA system.
So if you think you can aquascape and have some experience of working with ADA, or you know someone else who might, please contact us to let us know!
For more details about this aquascape, and a step-by-step Aquascape Journal please read on! If you would like some help, advice or assistance to re-create this Nature Aquarium style, or any other style, please contact us and we will be happy to help.
Specifications:
Aquarium Tank: ADA Cube Garden 60-P, 60 x 30 x 36 cm, (WxDxH)
Lighting: ADA Solar II, ADA Arm Stand
CO2: Injection through Do!aqua CO2 Diffuser
Filtration: Do!aqua Violet Glass Outflow, Do!aqua Violet Glass Inflow, ADA Bio Rio, ADA NA Carbon
Substrate: ADA Aqua Soil Arficana and ADA Power Sand Special S, ADA Tourmaline BC with ADA Congo Sand and ADA Nile Sand for decoration
Hardscape: ADA Ryuoh Stone
Plants: Hemianthus Callitrichoides ‘Cuba’, Glossostigma Elatinoides, Echinodorus tenellus
Tools: ADA Pinsettes S, ADA Riccia Stone, ADA Riccia Line
Ferts: ADA Green Brighty Step1, ADA Brighty K, ADA Green Bacter, ADA Green Gain, ADA Phyton Git
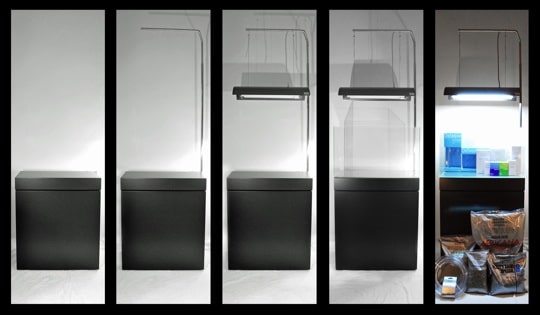
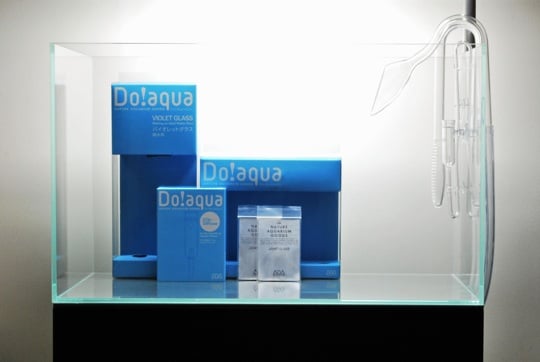
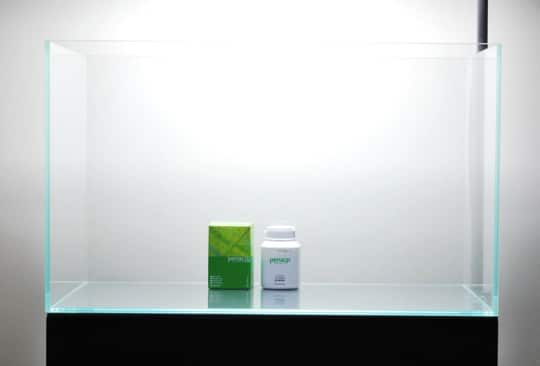
The next step is to build a layered substrate system, which begins with one of 3 additives. ADA Penac P. This will help to increase root health in the plants.
3 scoops of Penac P are spread evenly across the base of the aquarium.
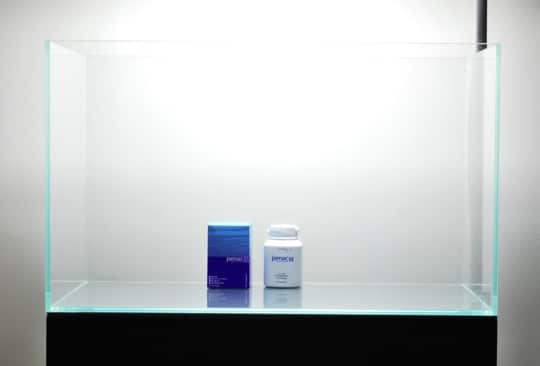
The second additive is ADA Penac W which will help prevent anaerobic activity in the substrate.
Three scoops of Penac W are sprinkled evenly over the Panac P.
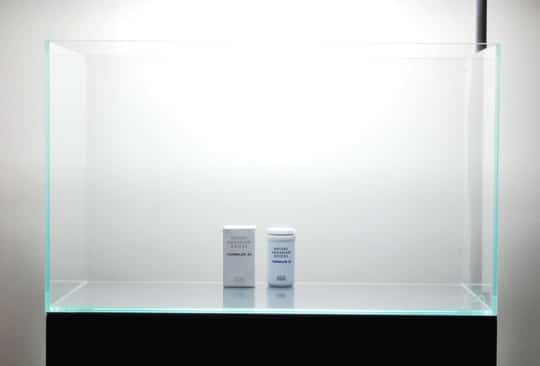
The last of the additives is ADA Tourmaline BC which helps create favourable conditions for carpeting plants, in particular Glossostigma elatinoides.
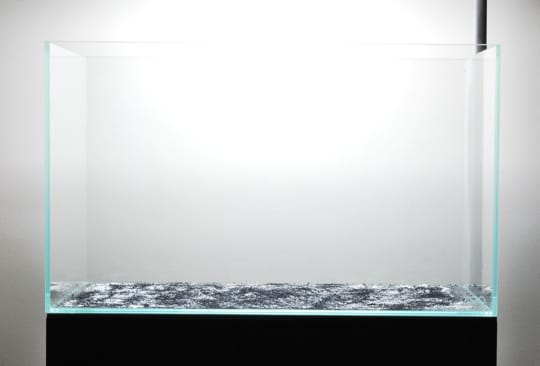
Ten scoops of Tourmaline are sprinkled over the top of the two Penacs.
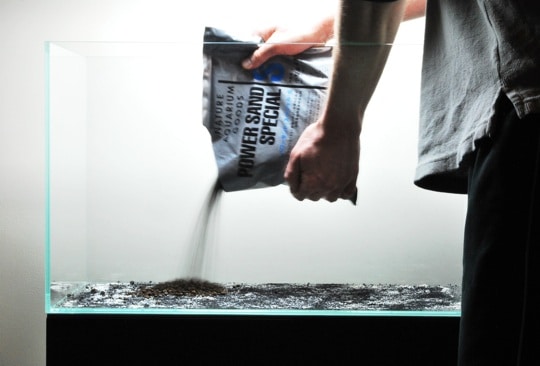
Next we provide a base layer for our substrate, to do this two 2 litre bags of ADA Power Sand Special S are poured carefully over the additives. Power Sand Special contains further additives such as ADA Bacter 100 and ADA Clear Super.
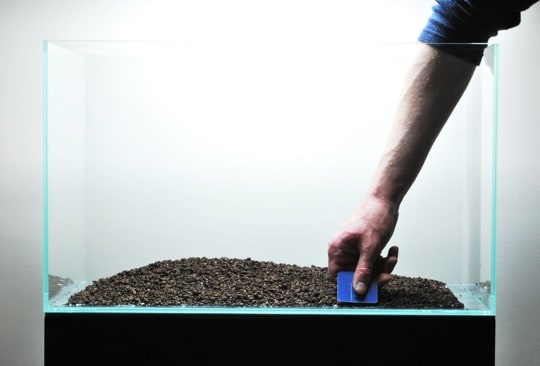
Power Sand can look a little unsightly if it is visible against the aquarium glass so it is scraped back at the front and sides using an old credit card.
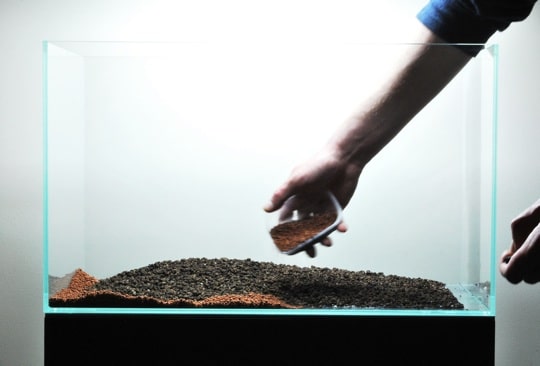
ADA Aquasoil Africana is now added carefully at the perimeter, this prevents the Power Sand from moving.
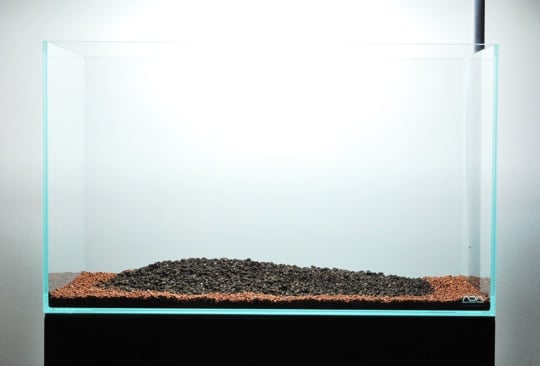
Once the perimeter is filled the Aquasoil can be poured in more liberally
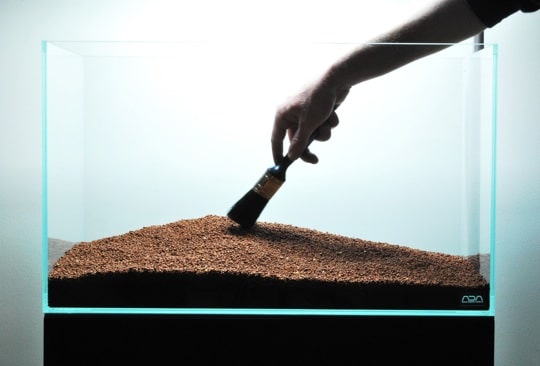
A soft brush can be used to shape the soil
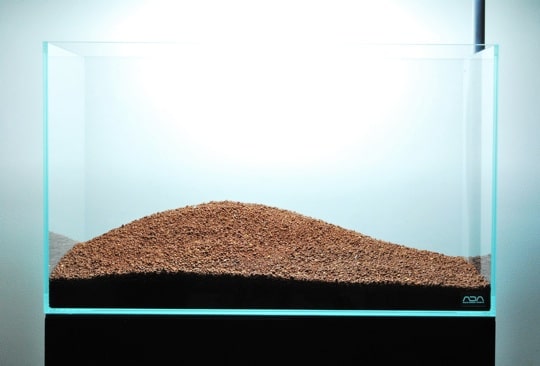
Once the desired shape has been created with the Aquasoil the hardscaping process can begin.
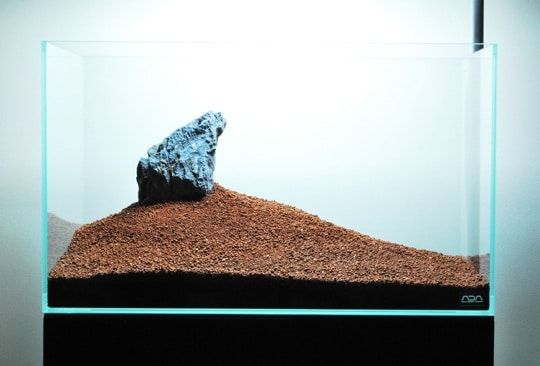
The first stone is placed to give height to the scape. This stone will be part of a small mountain in the distance.
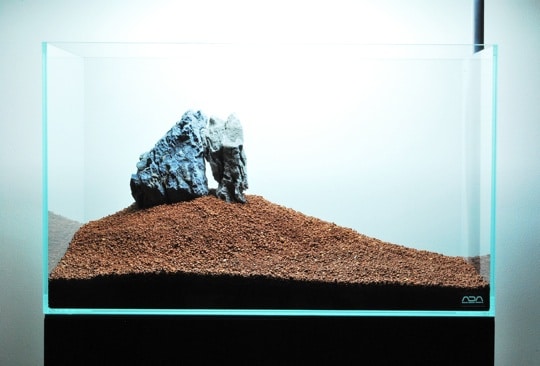
The second stone is placed so that it matches the strata and texture of the first. This maintains consistency in the mountain’s form. The gap will not be visible when the scape is grown in.
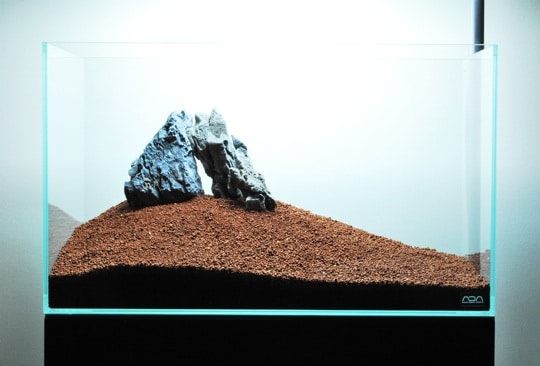
The third stone in the formation is placed, but whilst the strata match is convincing it does not provided enough width and the mountain feels a little too heavy on the left. This will be addressed once some further stones are placed.
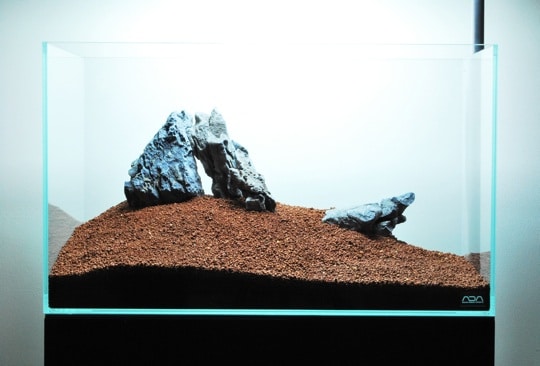
The next stone represents a rocky outcropping in the middle distance. It also forms the beginnings of a plateau at the foot of the mountain.
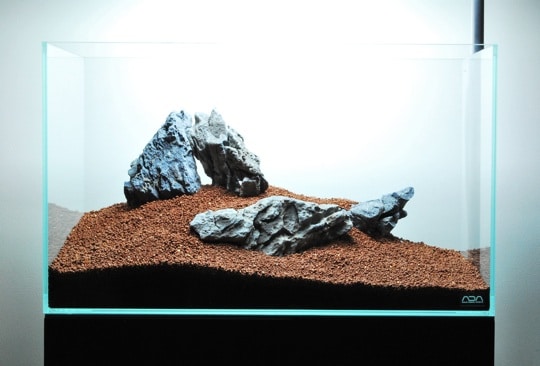
This stone continues the creation of the plateau and gives a rock face in the foreground from which plants can drape.
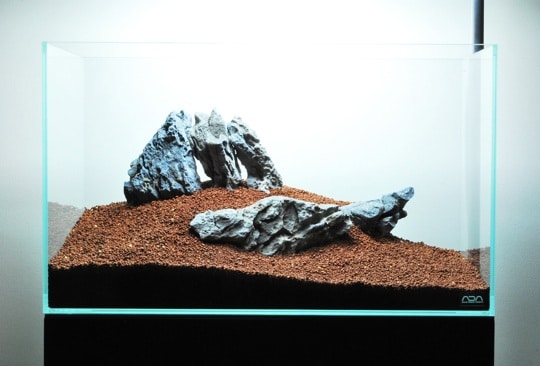
At this point a better stone can be found to match overall formation of the mountain, again the gap will not be seen once the plants have grown.
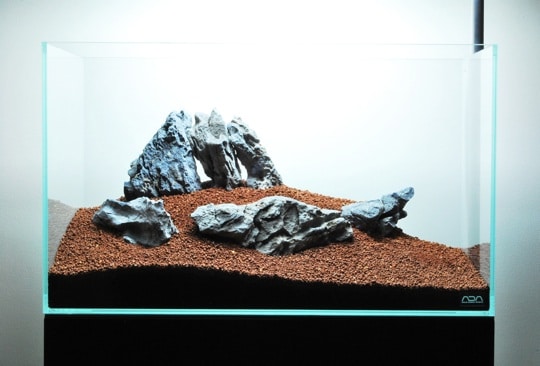
The placement of this stone completes the plateau, in this case it has been placed higher in the substrate so that the grass behind has space to curl over naturally.
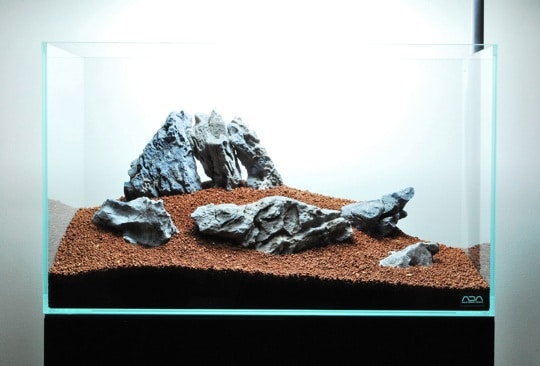
The final stone is placed to form a transition between planting and the Nile sand that will be added.
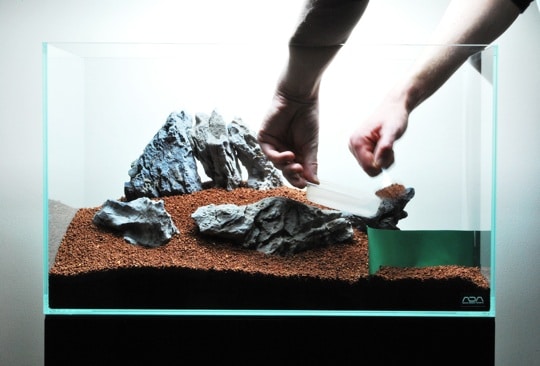
With the stone removed a piece of card can be pushed into the soil along the intended boundary. This allows the portion of soil inside the boundary to be removed without the other soil collapsing.
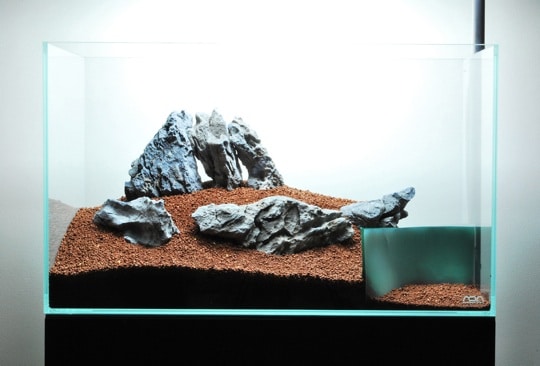
The soil is leveled off at about 1cm above the Power Sand.
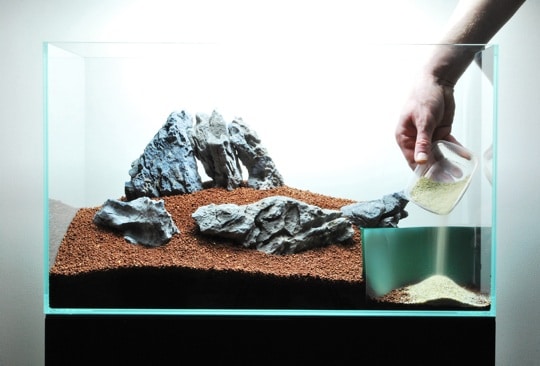
ADA Nile sand is poured in to fill the cavity.
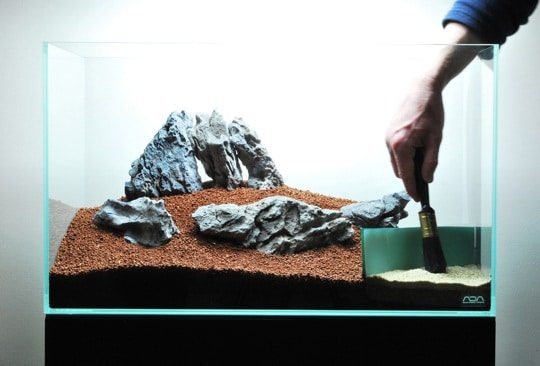
The Nile Sand is then leveled off with a soft brush.
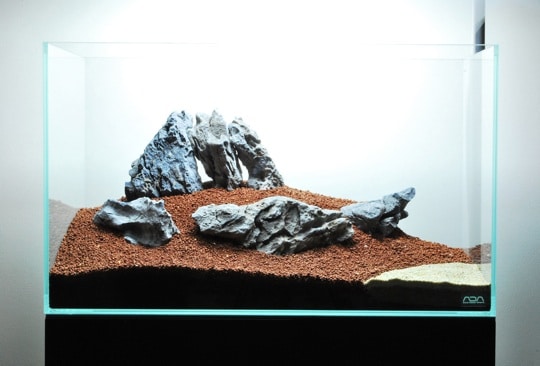
Once level on both sides, the divider can be carefully removed.
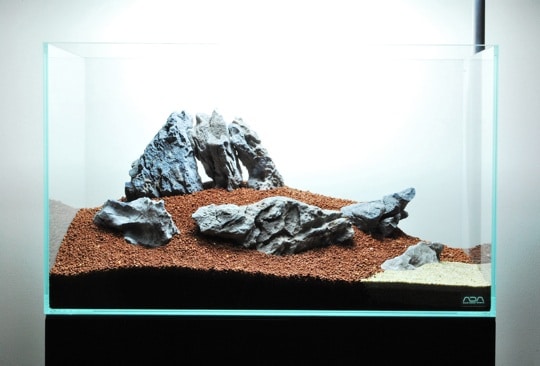
The final stone can now be repositioned.
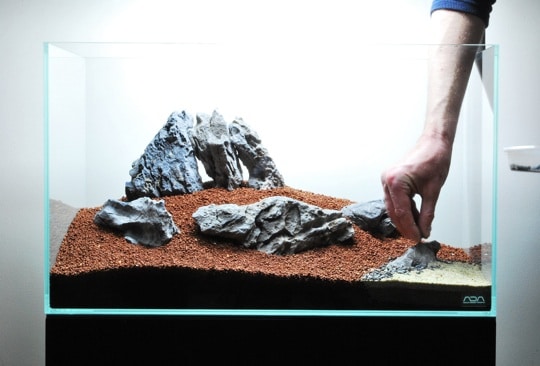
ADA Congo sand is added to provide a transition between the rocks and the Nile sand.
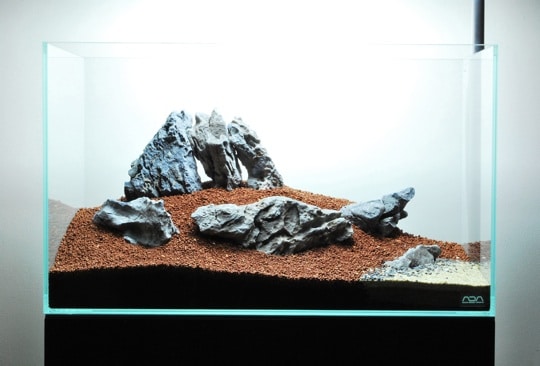
With the hardscape complete, the planting can begin.
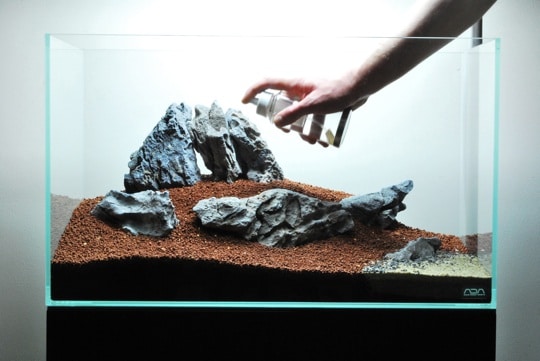
First it is important to soak the substrate throughout with a fine mister spray as plants will be damaged if pushed into dry substrate.
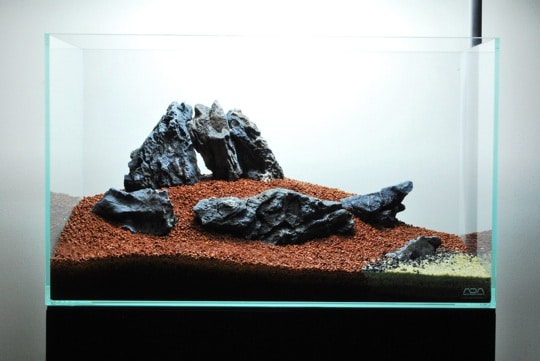
Once the substrate is completely soaked the plants can be prepared and placed on trays. Be sure to cover any unattended plants with a plastic sheet and keep all plants regularly sprayed throughout the process.
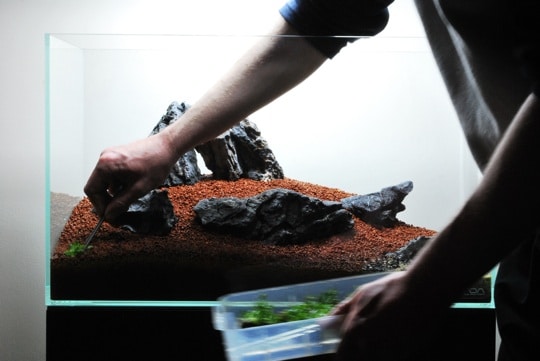
In the foreground Tropica Glossostigma elatinoides is used. Each pot was divided into 6 portions still attached to some of their mineral wool.
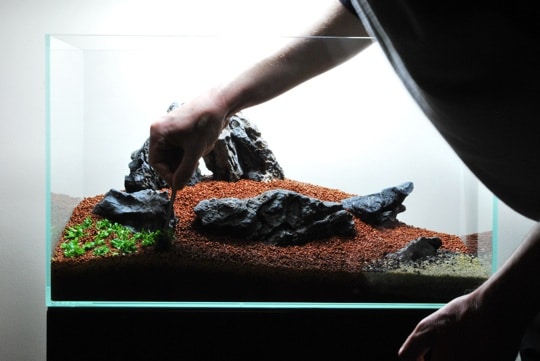
The portions were then be planted about 3cm apart using ADA Pinsettes S.
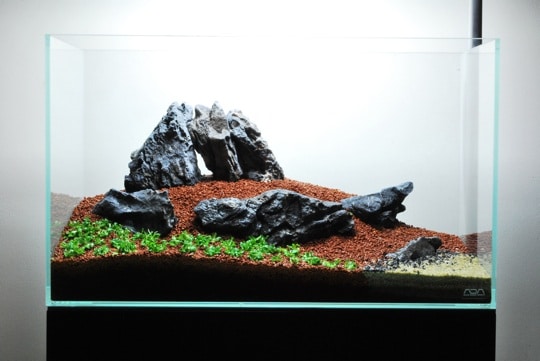
Now that a potential carpet of G. elatinoides extends along the soil at the front, a finer textured plant is needed for the mid to back ground.
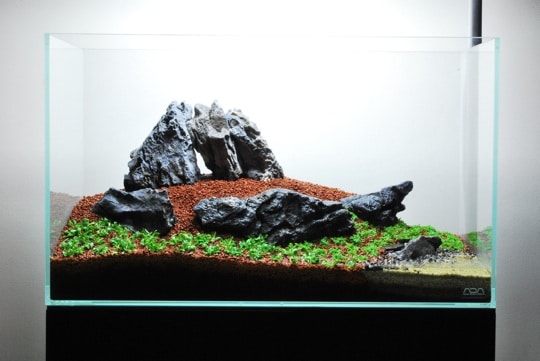
By planting Tropica Hemianthus callitrichoides ‘Cuba’ behind the G. elatinoides its smaller leaves should add to the illusion of depth. Each pot was divided into 9 portions and left attached to a little mineral wool.
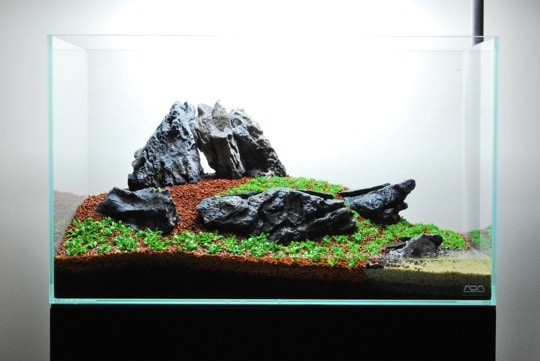
The plateau is also planted with H. callitrichoides.
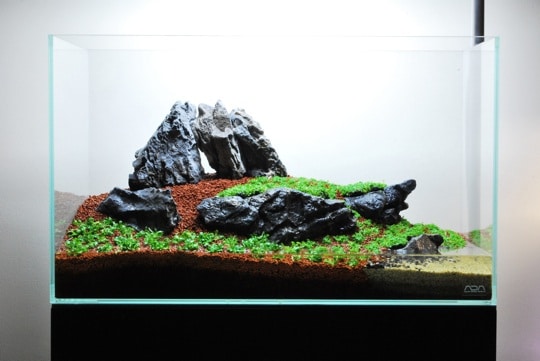
To encourage the H. calitrichoides to creep over the edges of the rock faces larger portions without mineral wool are attached to ADA Riccia stones with ADA Riccia line.
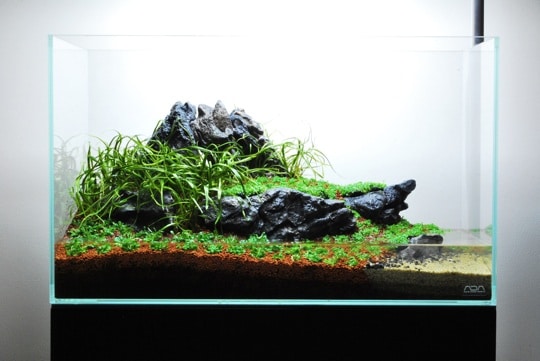
The Echinodorus tenellus is planted in individual plantlets, again using the small pinsettes. The planting is dense here to provide enough mass to combat algae in the early stages, as the G. elatinoides and H. callitrichoides may not be sufficient to do so.
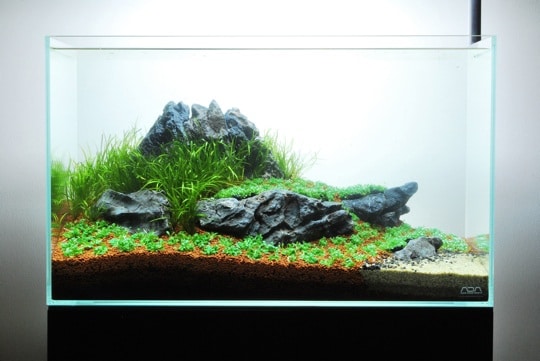
The tank is then filled very slowly via an airline hose siphoning from a large drum of prepared water. Be absolutely sure not to disturb the substrate, the water should not cloud significantly if the aquarium is filled correctly.
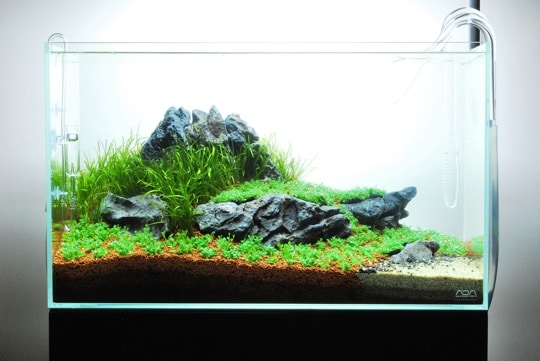
The next day the Do!Aqua CO2 diffuser and ADA Violet glass inflow and outflow can be refitted and the filter turned on. In the filter 3 litres of ADA Bio Rio and 1 litre of ADA NA Carbon were used. The carbon is there to absorb initial excess leaching from the Aquasoil and will be removed after 2-3 weeks.
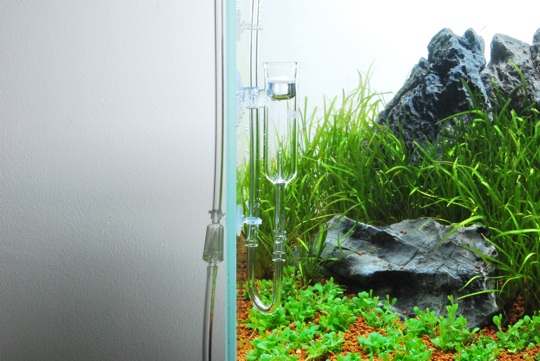
The CO2 rate is adjusted to 2 bubbles per second via Do!Aqua CO2 diffuser which also acts as a bubble counter.
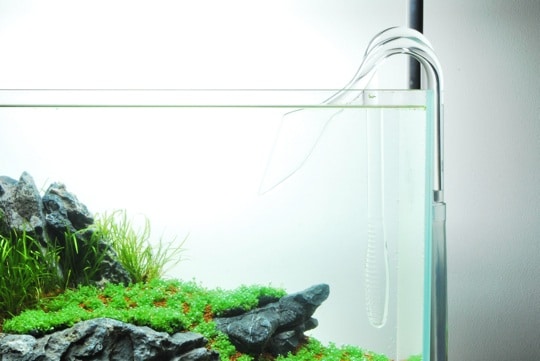
The flow from the filter should give good circulation throughout the tank, but be aware that too high a flow may uproot plants this soon after planting.
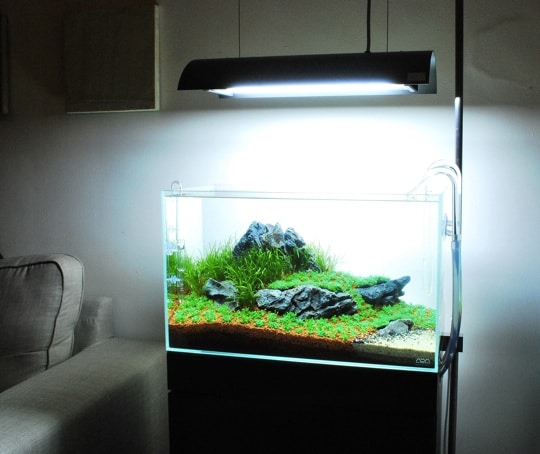
The full ADA system in situ, 2 days after planting. The plants are already showing signs of new growth: a testament to the quality and effectiveness of ADA.
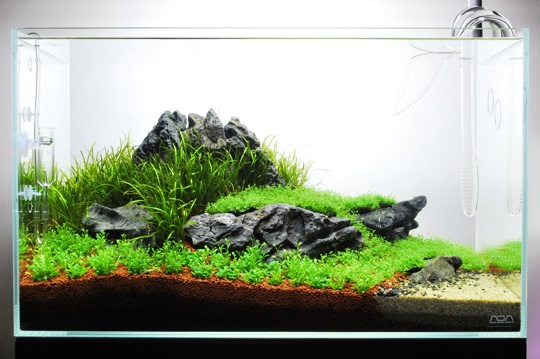
One week after planting the H. callitrichoides and G.elatinoides are beginning to take hold, the E.tenellus can now be pruned right back to encourage shorter denser growth. The water change regime will now be 50% daily for the next week. In this nature aquarium the water changes were done outside of the photoperiod in order to avoid fluctuating CO2 levels.

At 2 weeks old the H.callitrichoides is beginning to form a carpet and the E. tenellus has almost fully recovered from it’s pruning last week. However, the G.elatinoides is still producing vertical stems despite receiving good flow and CO2. This plant can require very high light levels to produce horizontal runners and form a carpet, so the lamp will be lowered by 2 inches and plant pruned right back.
Like this Aquascape Journal? You might also like;
