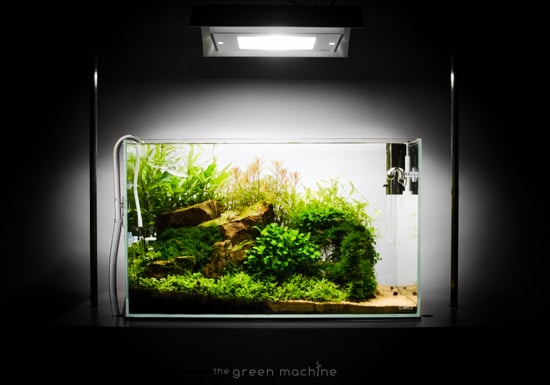
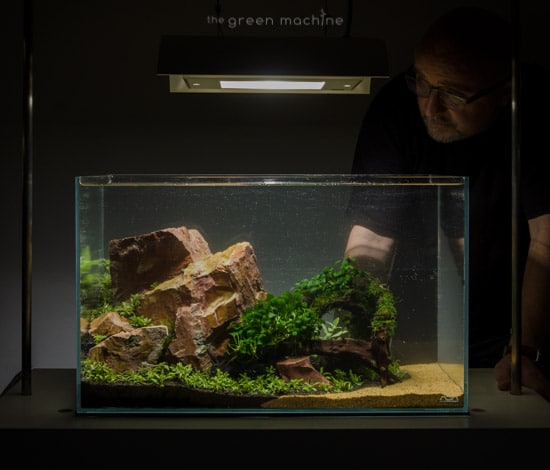
In this journal and 23 minute video, you will see professional aquascaper, and founder of The Green machine- James Findley creating a planted aquarium from scratch. We’ll take you step by step through the process so you can understand the technical and artistic decisions James makes at each stage.
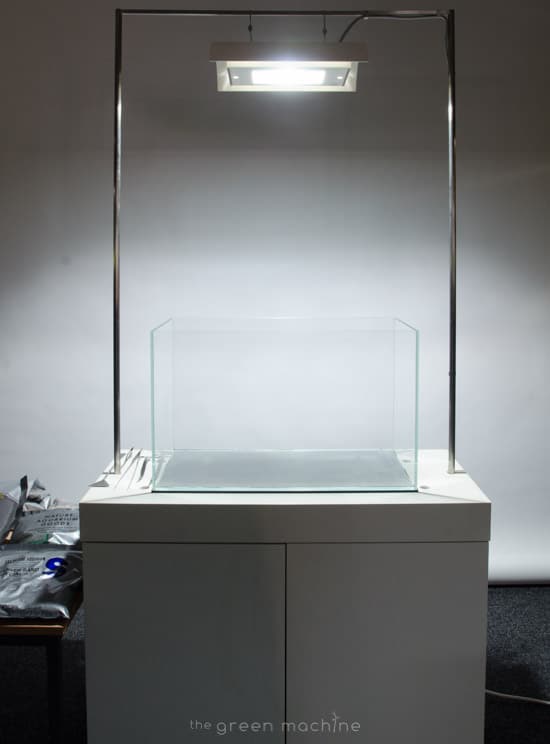
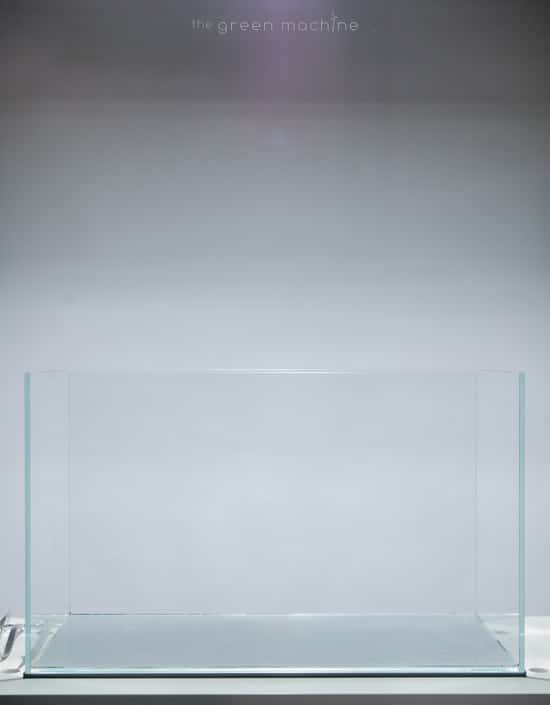
James is using one of the most popular sized aquariums on the market- a 60 cm wide, by 30 deep, by 36 cm high, 64.8 litre ADA Cube Garden.
ADA Cube Gardens are made from low-iron, higher clarity glass, which results in a brighter, more vibrant view of your planted tank.
James is well known for creating Supertanks such as Nature’s Chaos, Arizona, and Reciprocity, so it is interesting to see him planting a more average sized home aquarium.
Jump to:
Video
Setup Specification
Step by Step creation
Planting Finished
Grown in Photos
Video Transcript
The Aquasscape…
The full video features detailed explanations of James’ inspiration, techniques and planting tips.
This journal contains just over 100 photos of the creation of this Nature Aquarium.
Skip to the bottom of this page to see more full ‘grown in’ photo coverage.
Video
This full video features detailed explanations of James’ inspiration, techniques and planting tips along with step by step coverage of the creation of Escarpment.
Setup Specifications
- Aquarium – ADA Cube Garden 60-P 60 x30 x 36cm
- Stand – ADA Wood Cabinet White
- Filtration & Heating – ADA Vuppa-I Surface Skimmer, ADA Super Jet Filter ES 600 for 36cm high tank with Lily Pipes
- CO2 – ADA Cabochon Ruby, ADA CO2 Tower
- Lighting – ADA Solar I White 150W Metal Halide
- Substrate – ADA Aqua Soil Amazonia, ADA Power Sand Special M, ADA Bacter 100, ADA Tourmaline BC, ADA Clear Super
- Decor / hardscape – ADA Kei Stone, ADA Horn Wood
- Plants – Pogostemon helferi, Hygrophila polysperma ‘Rosanervig’, Vesicularia dubyana ‘Christmas’, Anubias petite
- Fish – Rasbora/Boraras brigittae (Mosquito Rasbora), Rasbora Kubotai, Corydoras pygmaeus, Norman’s Lampeye’s, Tiger SHrimp, Cherry Shrimp
Step by Step
8 months into the life of the aquascape…
Like this article? Read more like this…
- ‘Reciprocity’ Aquascape by James Findley
- ‘Fallen Tree’ Aquascape by James Findley
- ‘Riverbank’ Aquascape by James Findley
- The Power of ADA – A 60-P Nature Aquarium
- The Power of ADA – An ADA Nature Aquarium
- The Power of ADA – A Do!aqua Nature Aquarium
- + Many more! – Explore our website!
Video Transcript
Total time: 23:08
0:07
Welcome back to The Green Machine, the Nature Aquarium Specialists.
In this 23 minute video, you will see professional aquascaper, and founder of The Green machine- James Findley creating a planted aquarium from scratch. We’ll take you step by step through the process so you can understand the technical and artistic decisions James makes at each stage.
James is using one of the most popular sized aquariums on the market- a 60 cm wide, by 30 deep, by 36 cm high, 64.8 litre ADA Cube Garden 60-P.
0:36
ADA Cube Gardens are made from low-iron, higher clarity glass, which results in a brighter, more vibrant view of your planted tank.
0:43
James is well known for creating Supertanks such as Nature’s Chaos, Arizona, and Reciprocity, so it is interesting to see him planting a more average sized home aquarium.
0:59
We will now see how this layout was created, before learning more about its composition.
1:04
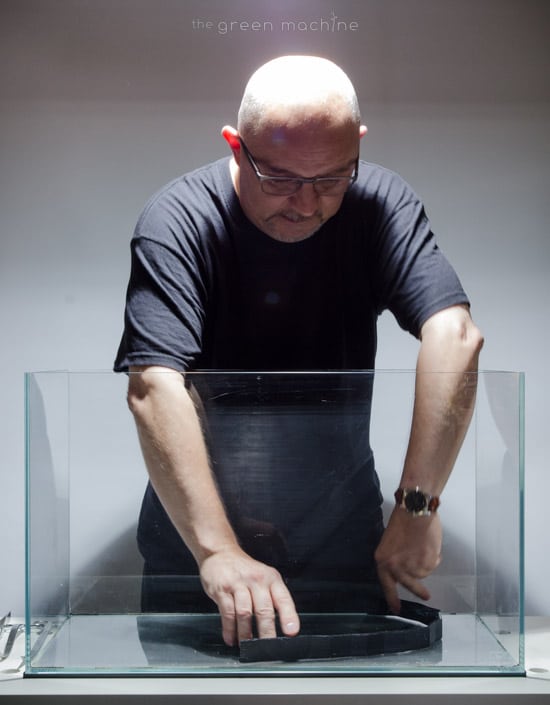
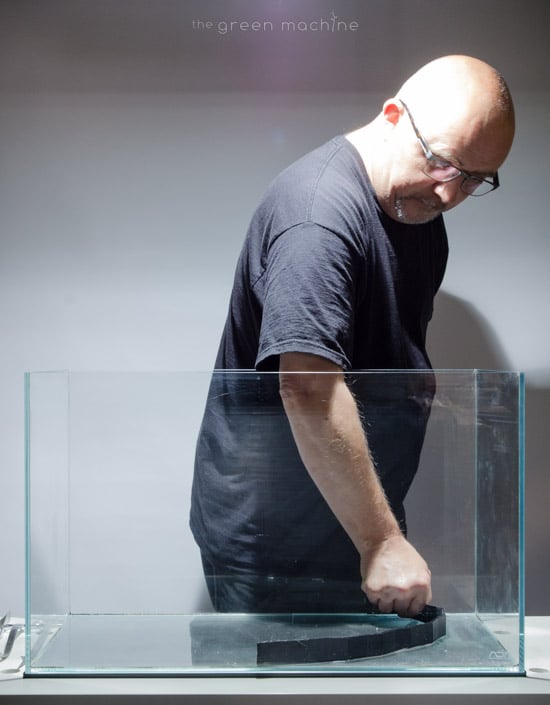
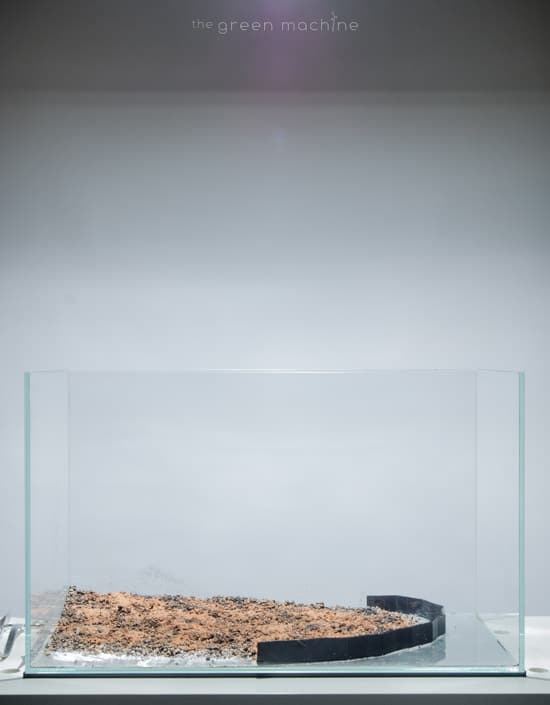
First, TGM Substrate Supports are fixed to the bottom of the tank to serve as dividers for different types of substrate materials which will be added shortly.
1:13
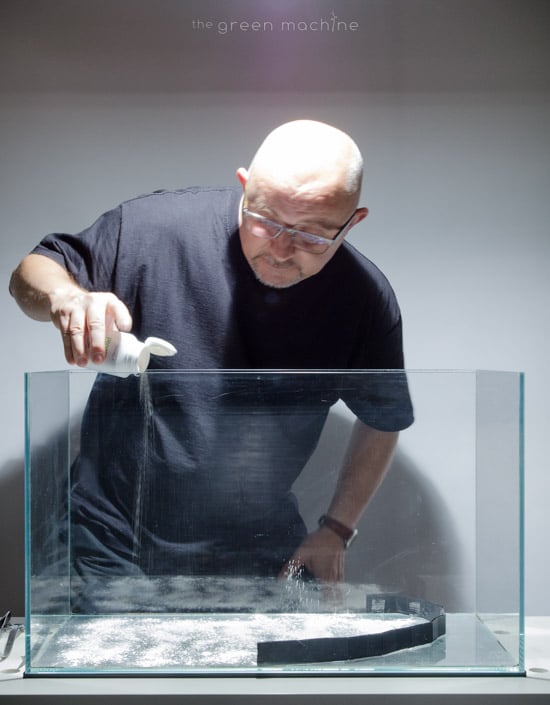
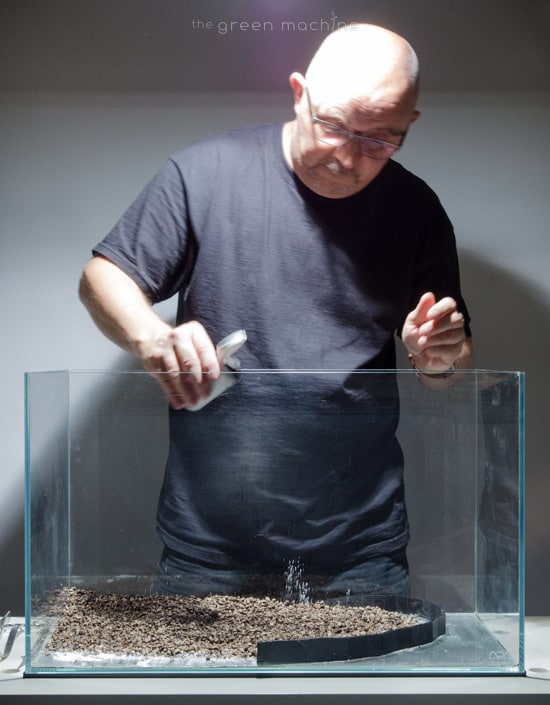
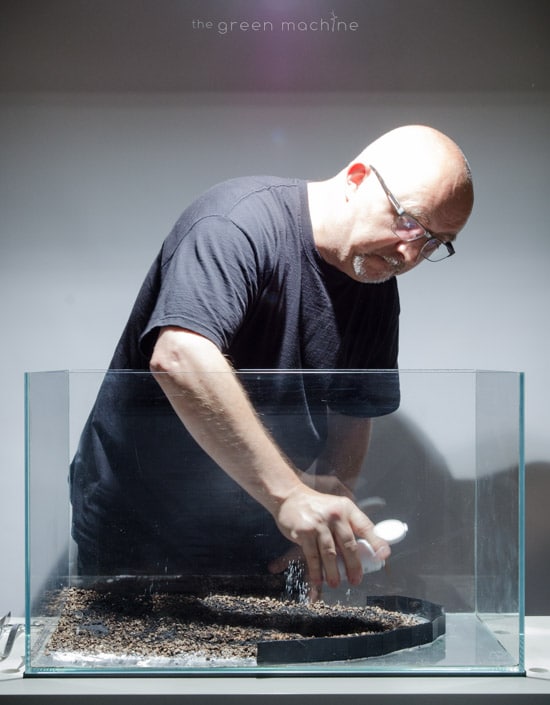
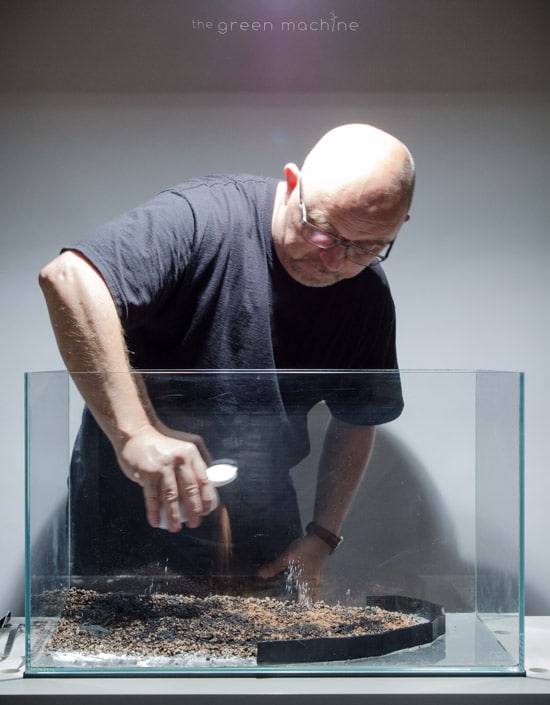
Next, Substrate additives are sprinkled across the glass in areas where plants will be placed. These help ensure a healthy environment for plant roots which helps lead to excellent growth throughout the whole plant. For full details of these additives, visit our website and read the Escarpment aquascape journal.
1:30
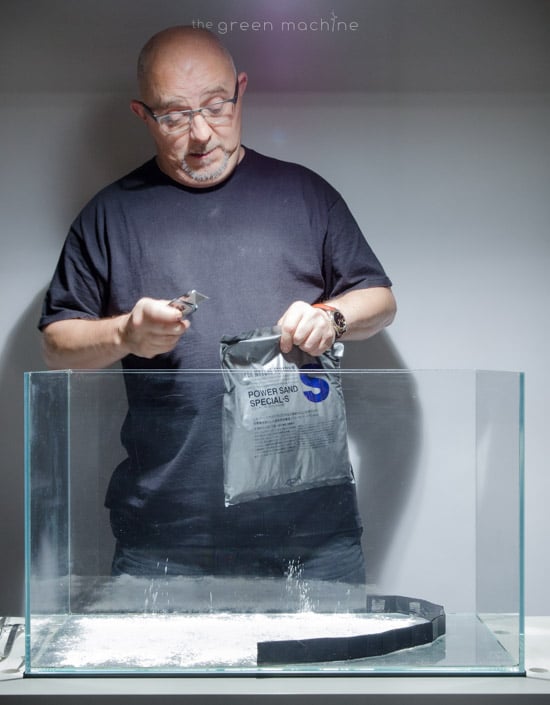
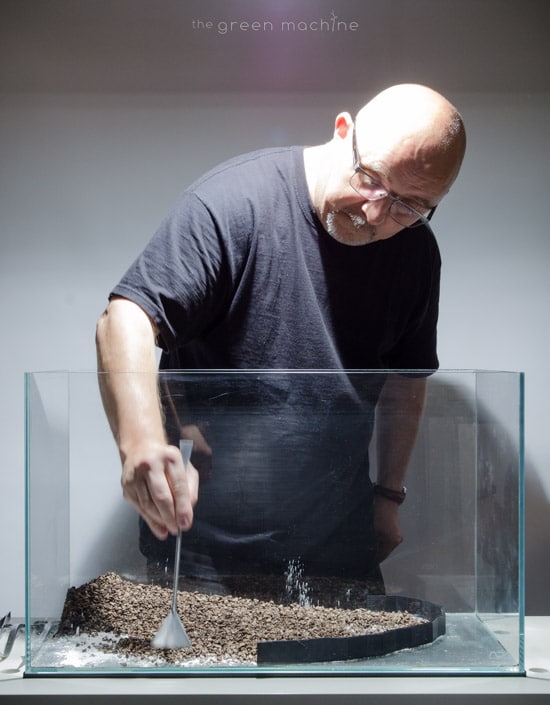
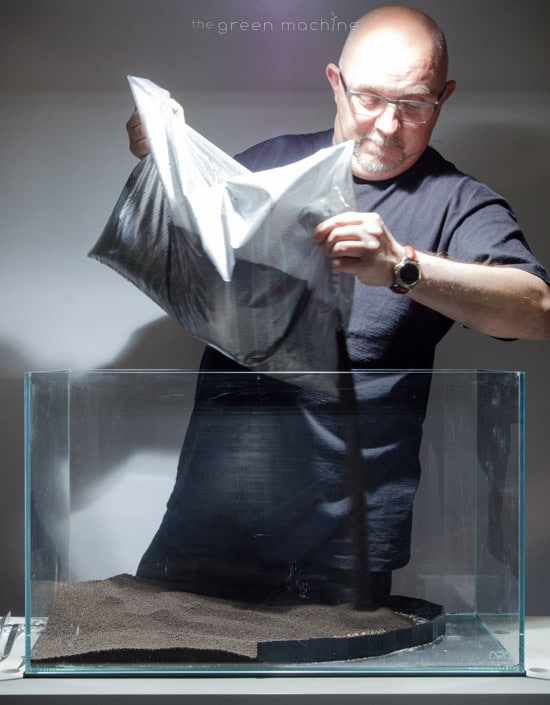
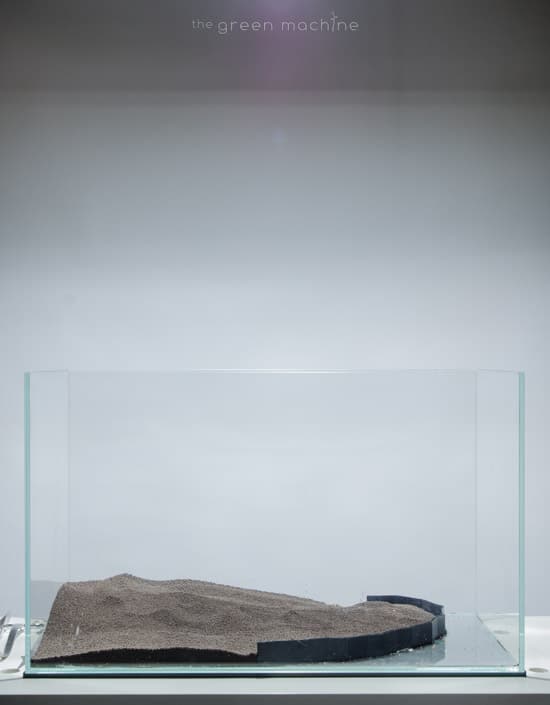
Power Sand is used as a base substrate layer as it contains many organic nutrients and is excellent in helping plants to actively absorb nutrients from their roots. It’s porous volcanic stones increase water circulation which avoids stifling of the substrate. This product helps prolong the life of an aquascape, so you can enjoy your layout for longer. James spreads it across the base of the aquarium using a Sand Flattener.
1:59
Next, more substrate additives are sprinkled on top of the Power Sand. A beautiful planted tank can be achieved with fewer additives in the substrate layer, but many of James‘ aquascapes are intended for public display, and so it is important to him that the substrate layer is as good as he can make it in order to maximise the lifespan of the layout.
2:18
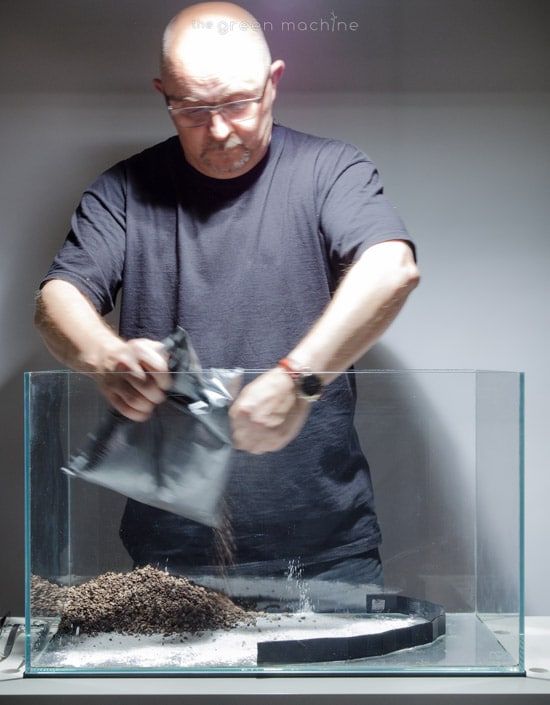
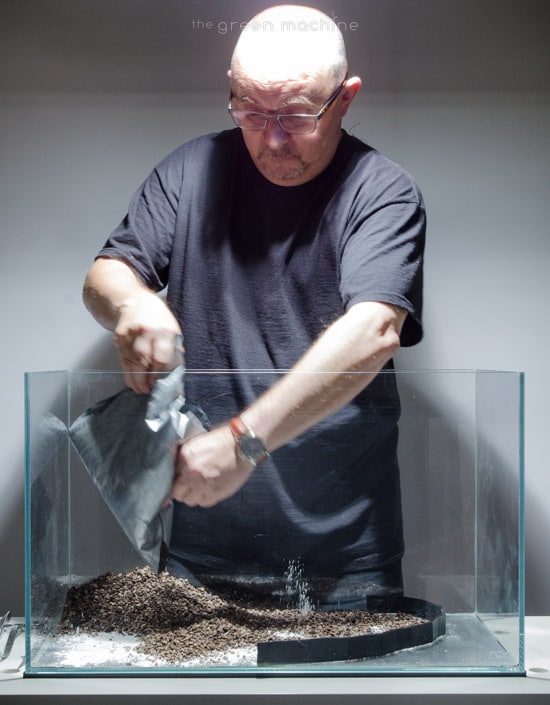
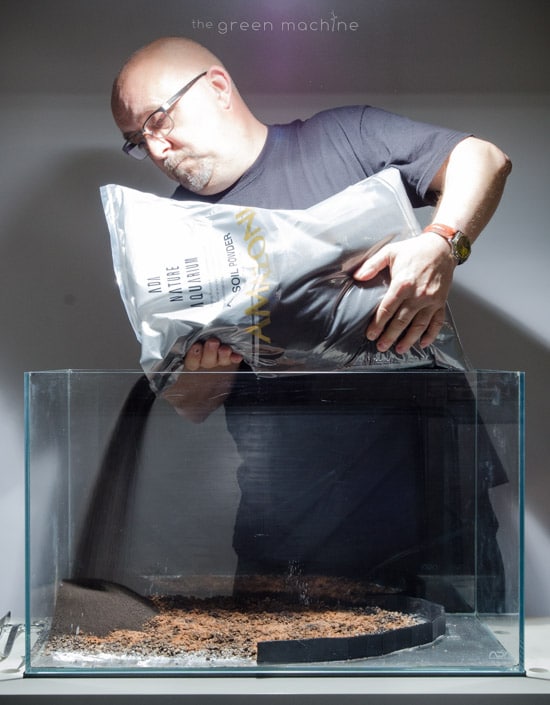
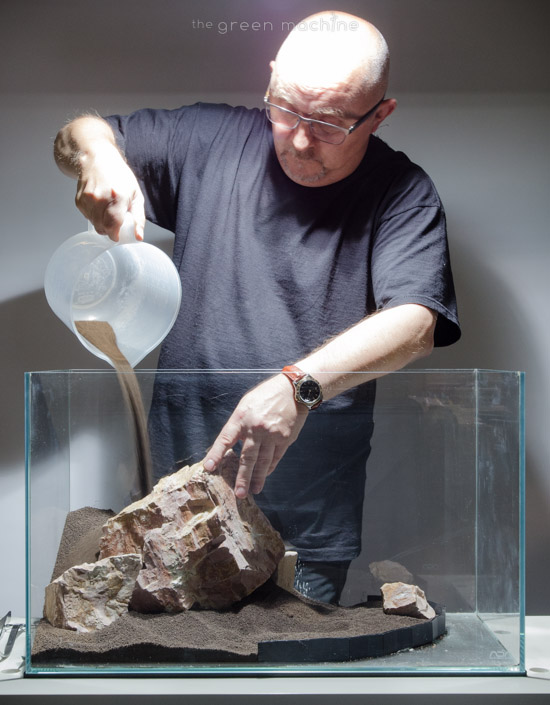
Now the main substrate layer is poured on top- in this case James has chosen the most popular planted tank substrate in the world- ADA Aqua Soil Amazonia. This is a complete substrate which can be planted straight into and provides superb conditions for aquatic plants. James always advises people to invest in a decent substrate system, as this is the foundation of the aquarium and can’t be replaced later without strippng down the whole tank.
3:00
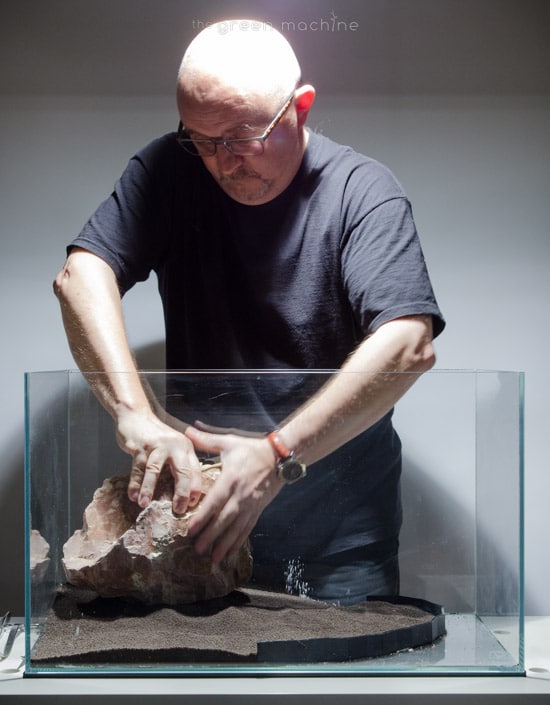
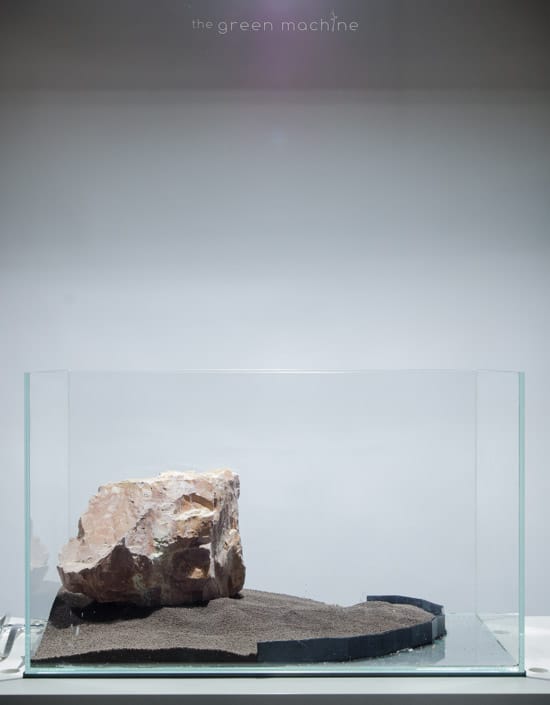
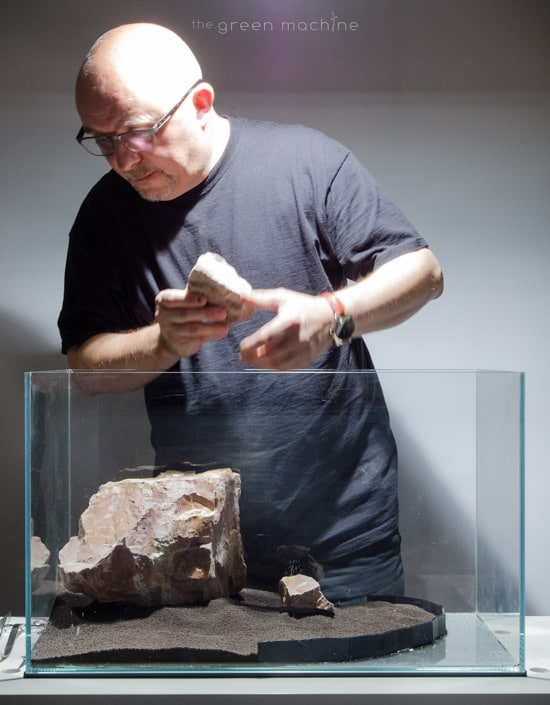
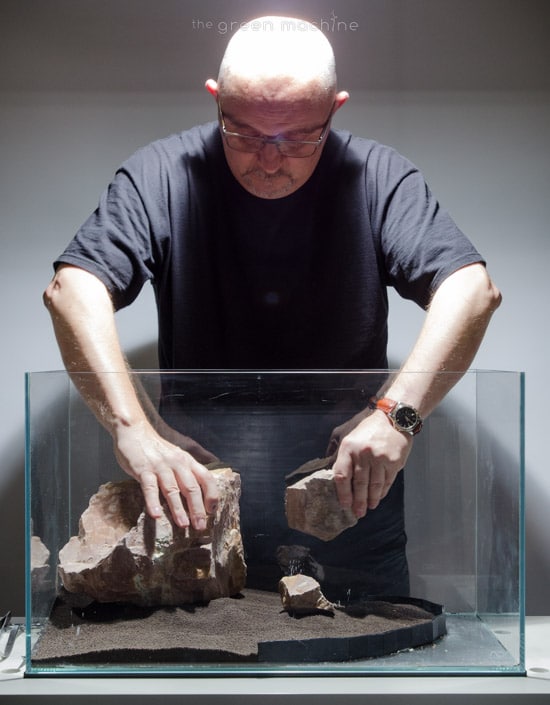
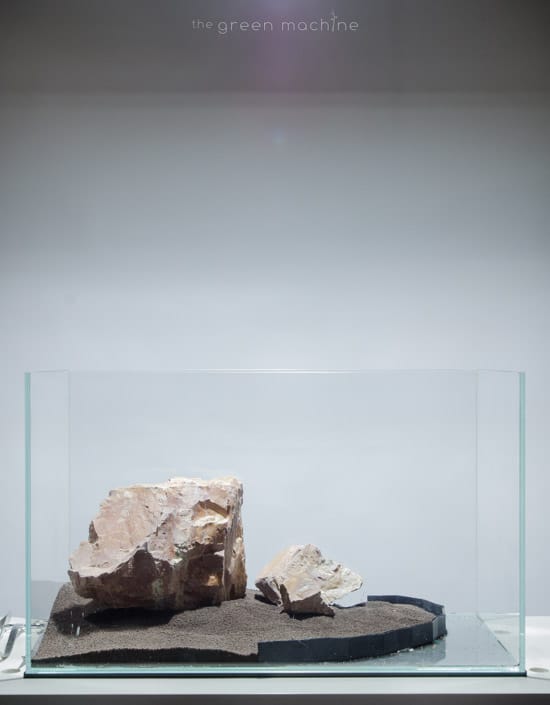
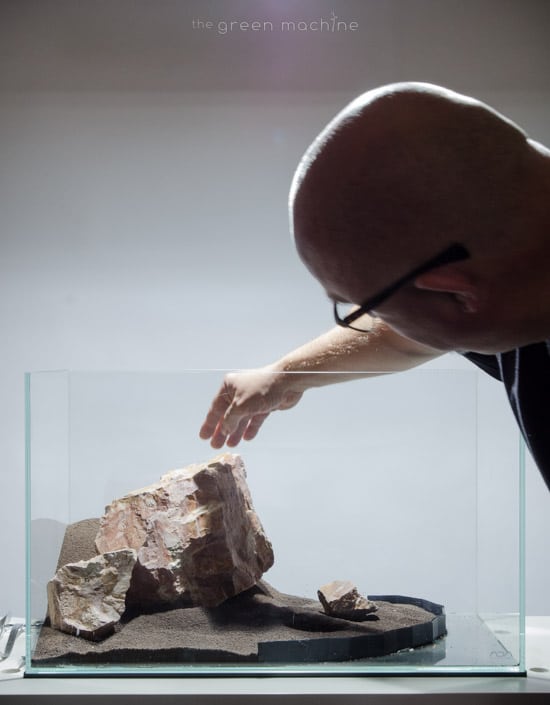
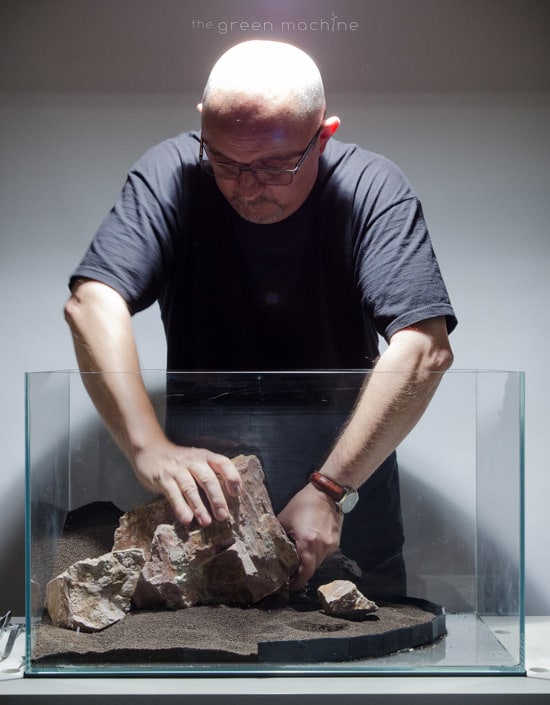
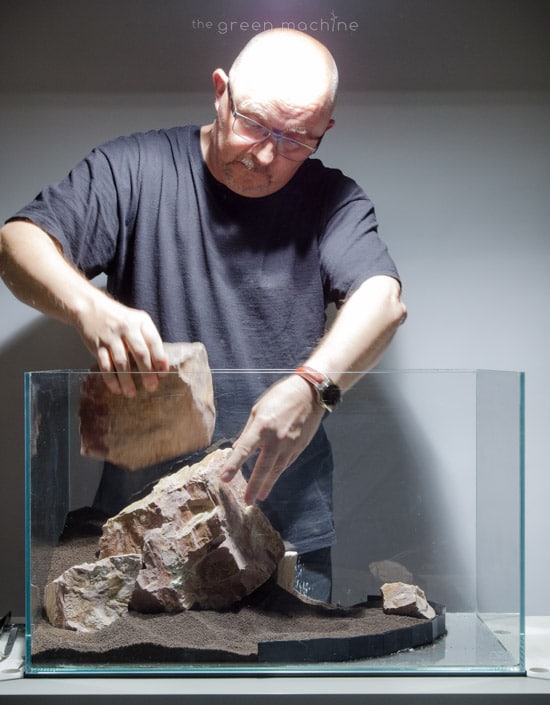
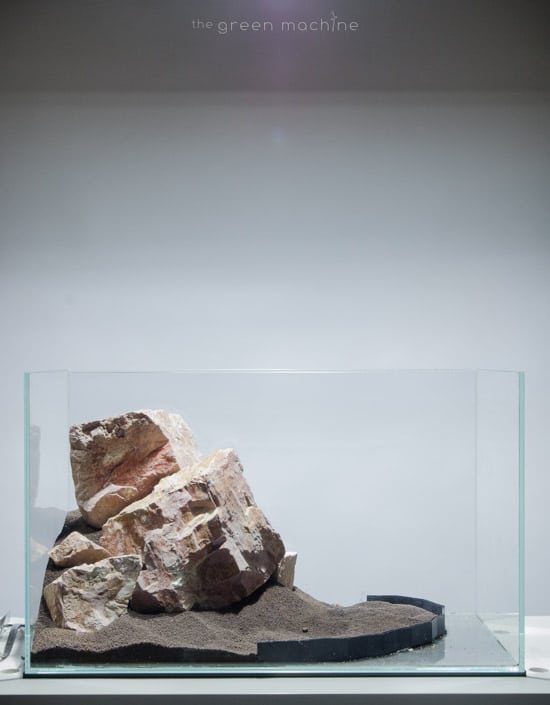
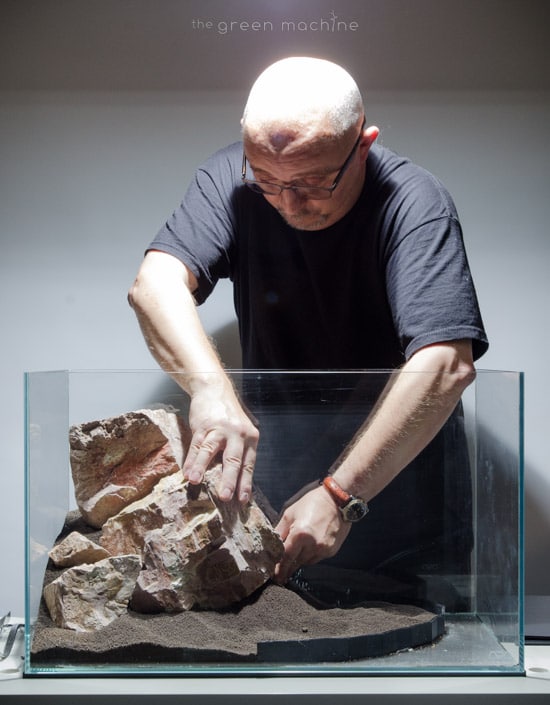
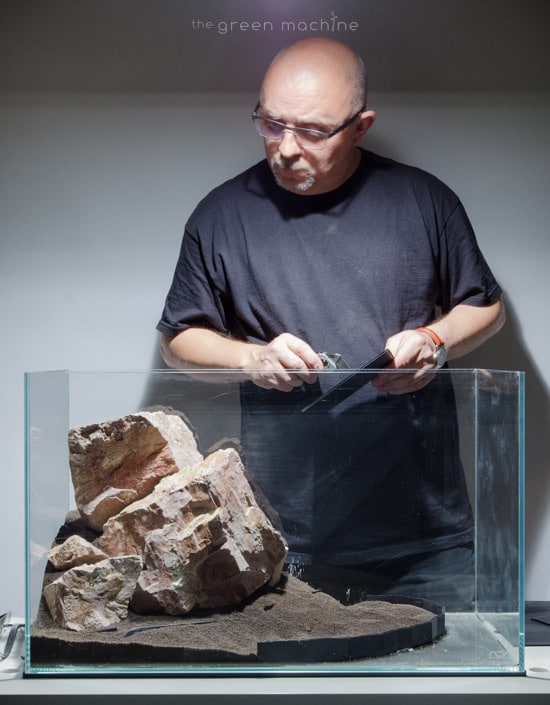
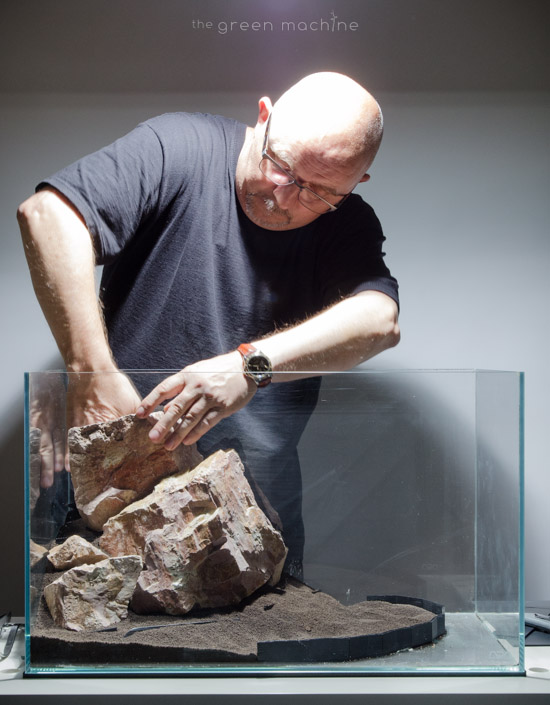
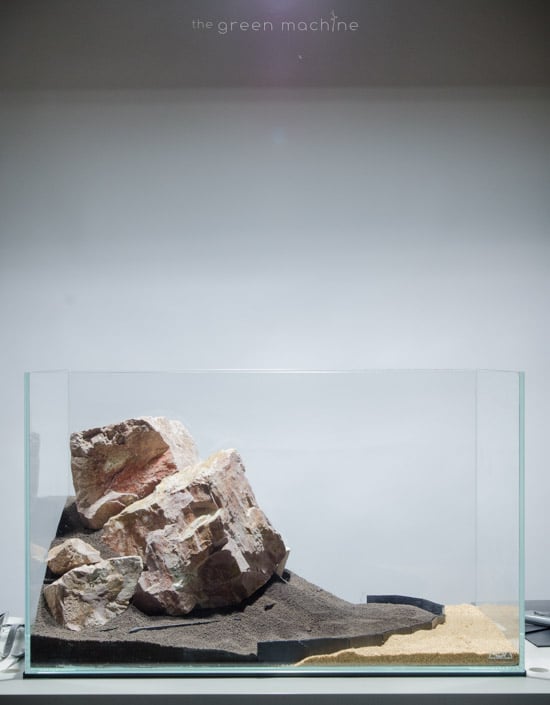
James chose ADA Kei stone for this layout because of it’s orangy-red hues and angular surfaces. The first stone is carefully placed into the tank, it’s angles are checked from all sides before smaller stones are added in key positions.
James works with a combination of intuition and technical experience to find his chosen positions for each stone. A degree of improvisation is always present at this stage of the process.
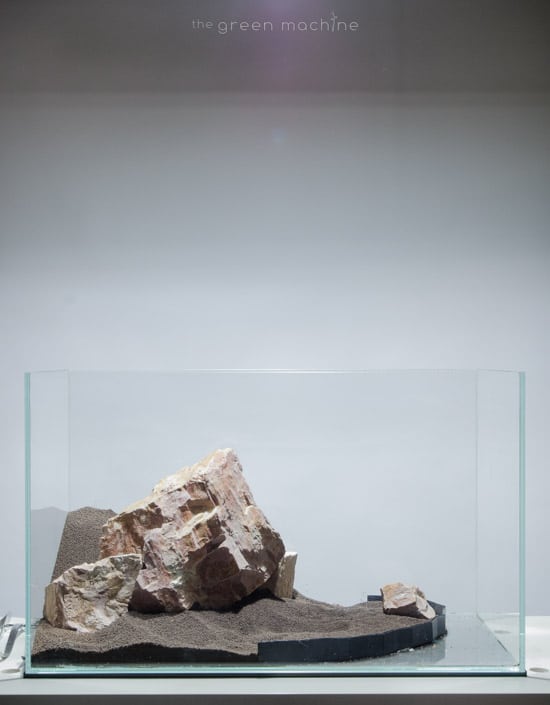
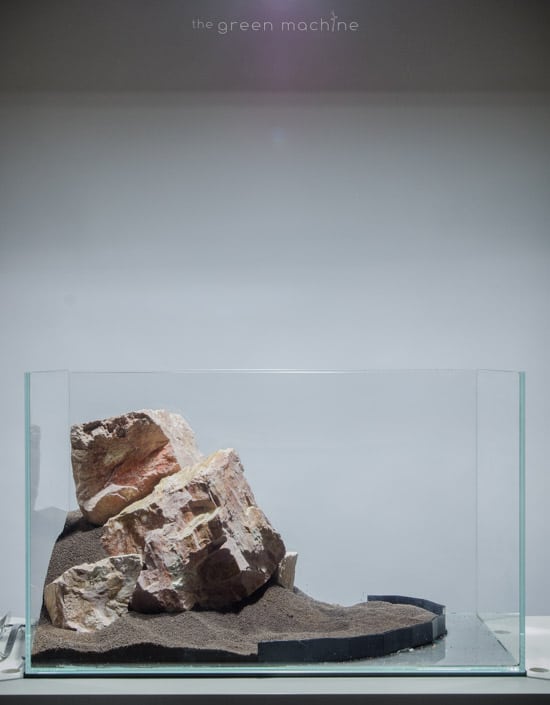
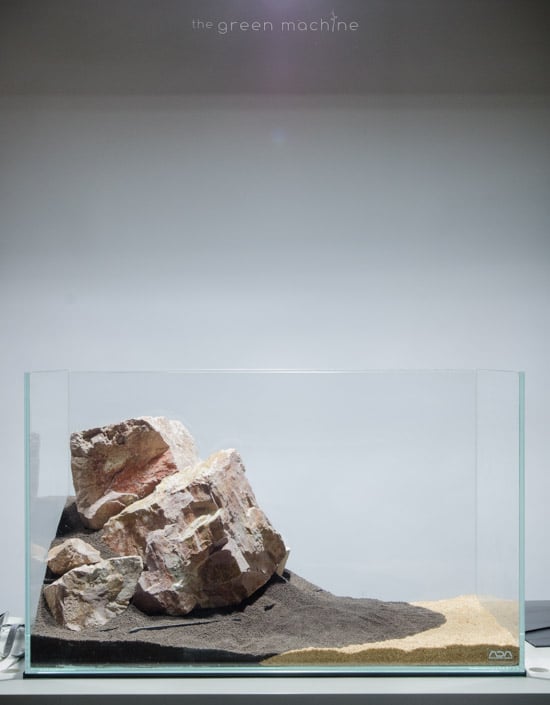
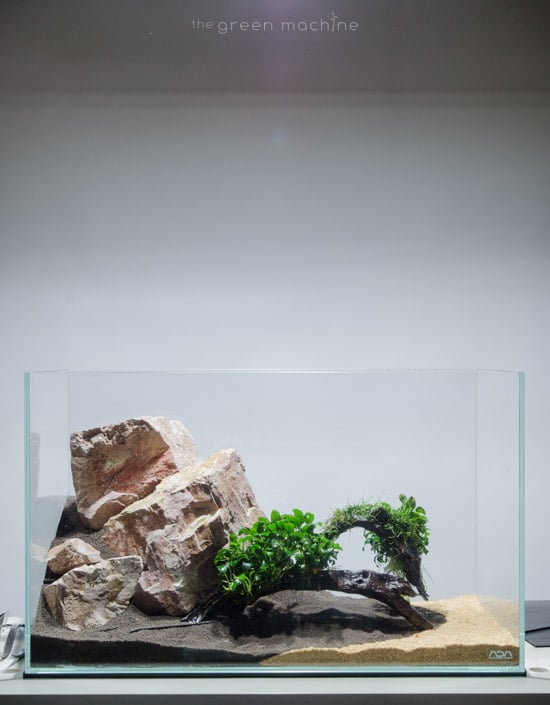
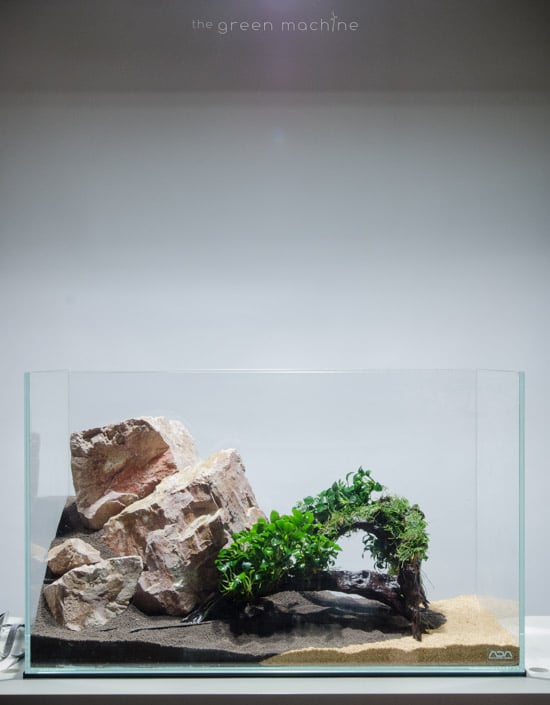
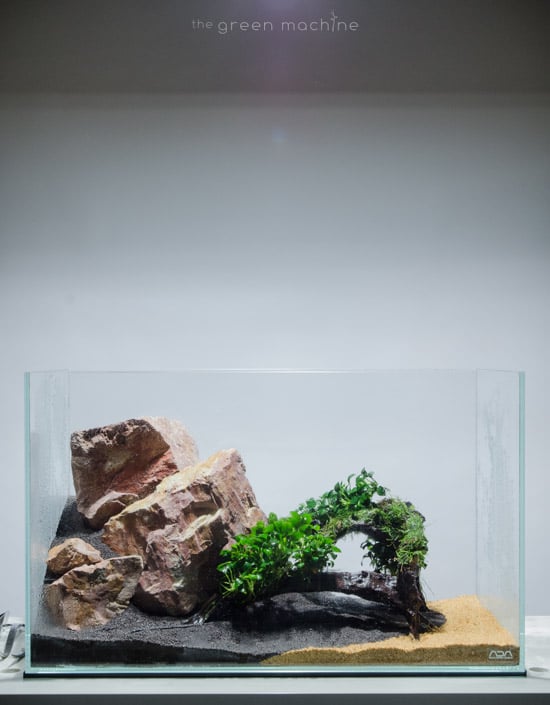
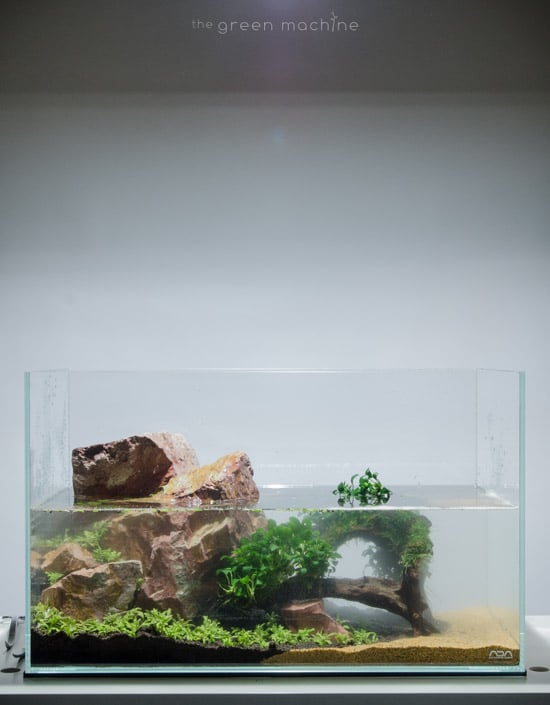
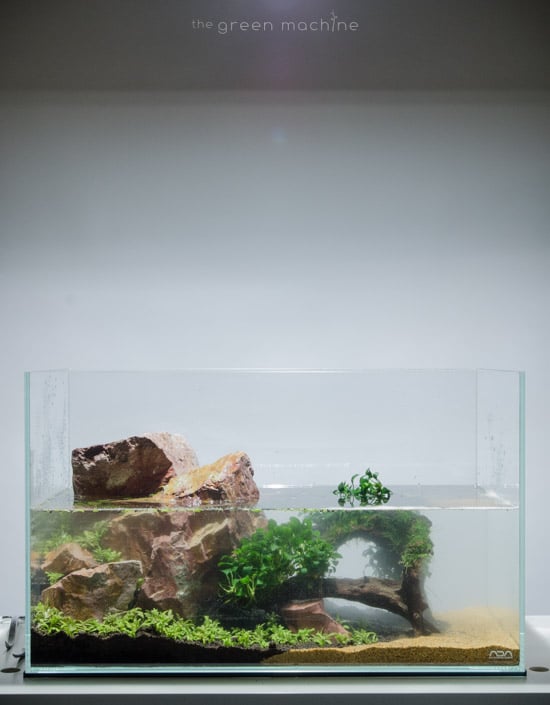
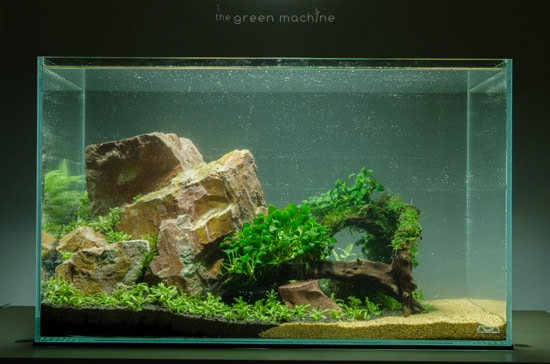
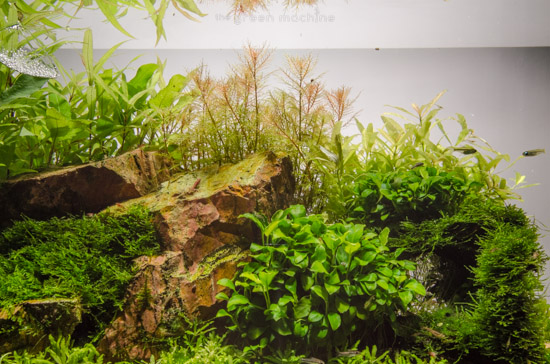
James titled this aquascape Escarpment because he wanted to create an area of raised rocks with angular cliff like faces, dropping down to a plateau of dense jungle-like growth.
4:00
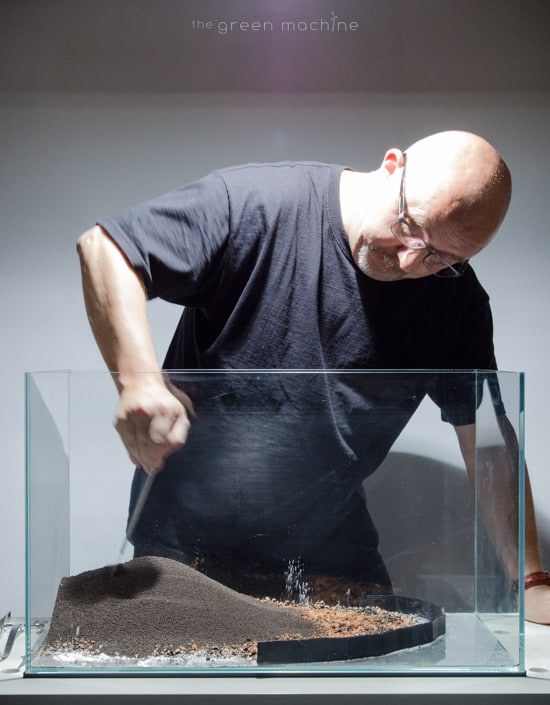
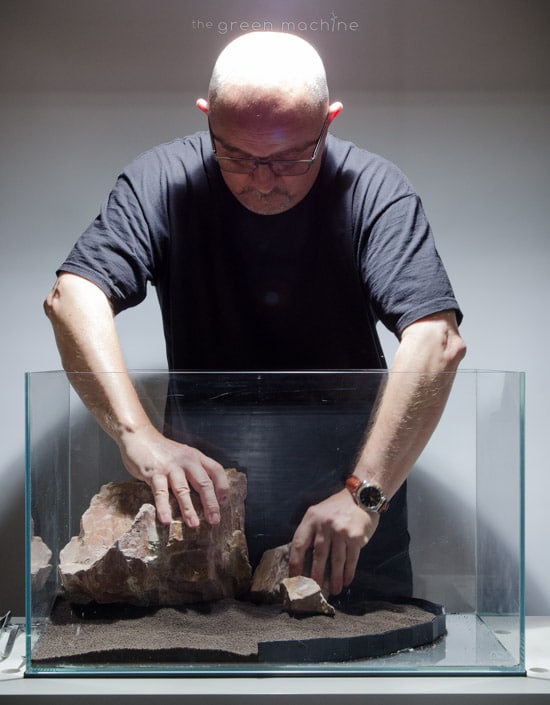
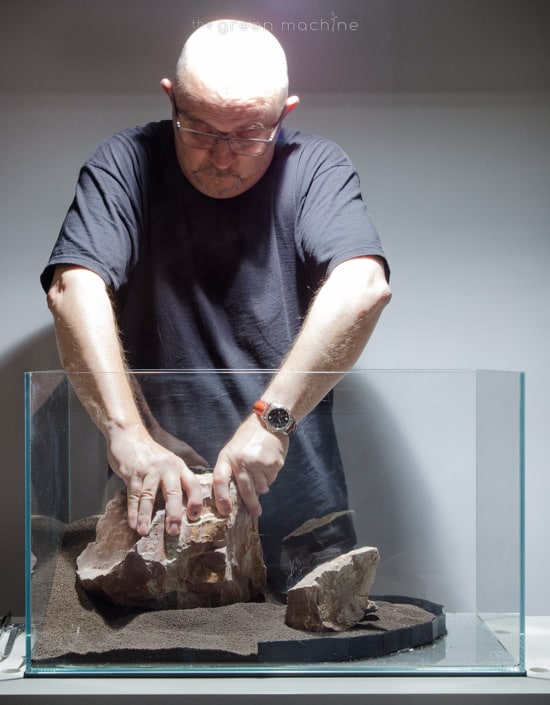
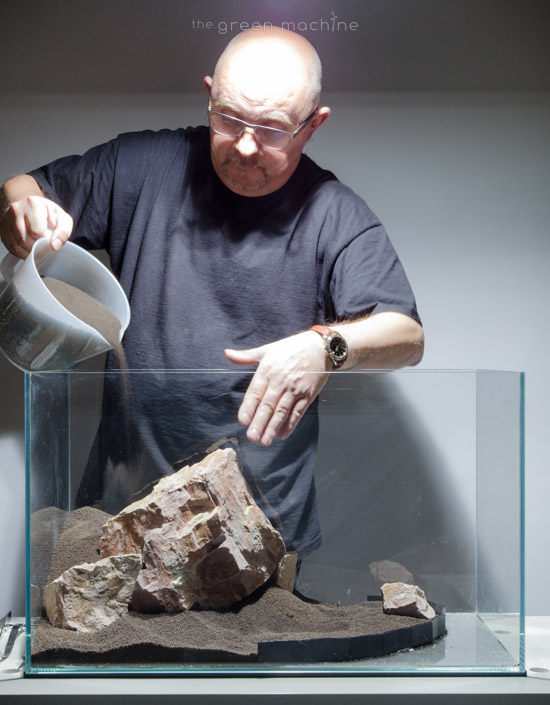
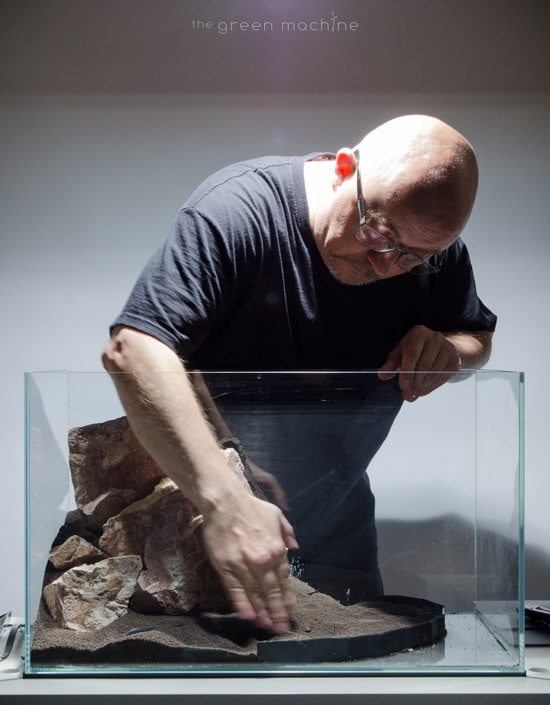
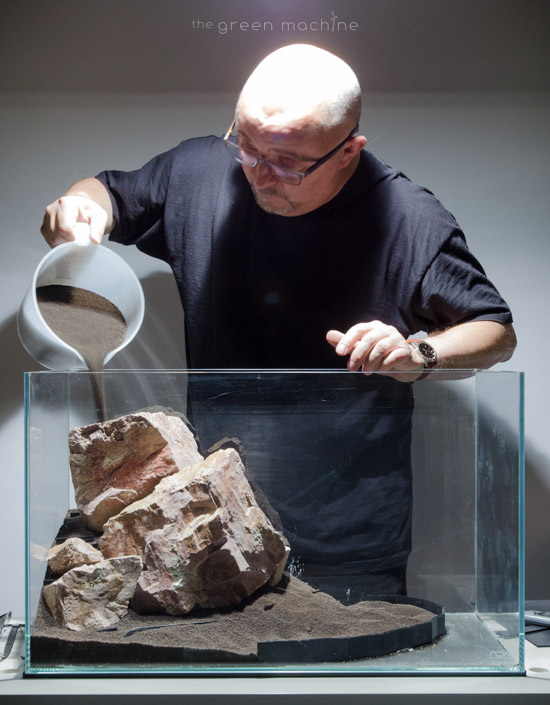
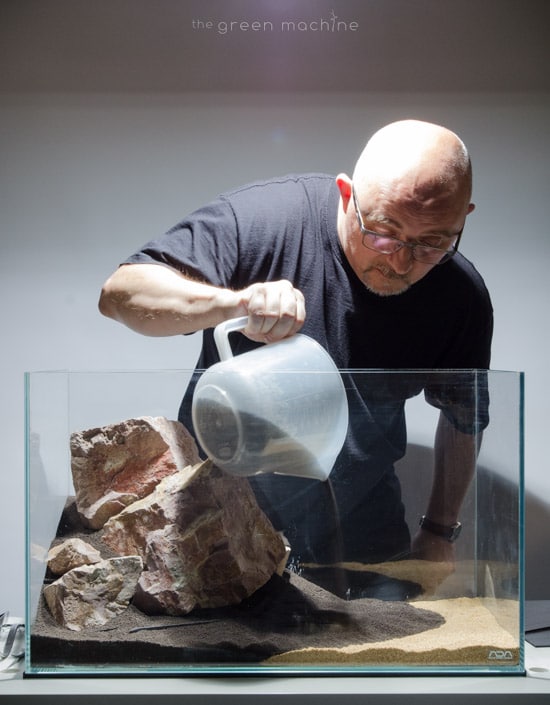
More Aqua Soil is poured around the stones to increase the height of the substrate. This helps secure the stones and allows for their positions to be manipulated. It also results in elevated areas where plants can be placed later on.
Aqua Soil allows for fine adjustments to be made easily which helps the aquascaper achieve a pleasing hardscape layout.
4:33
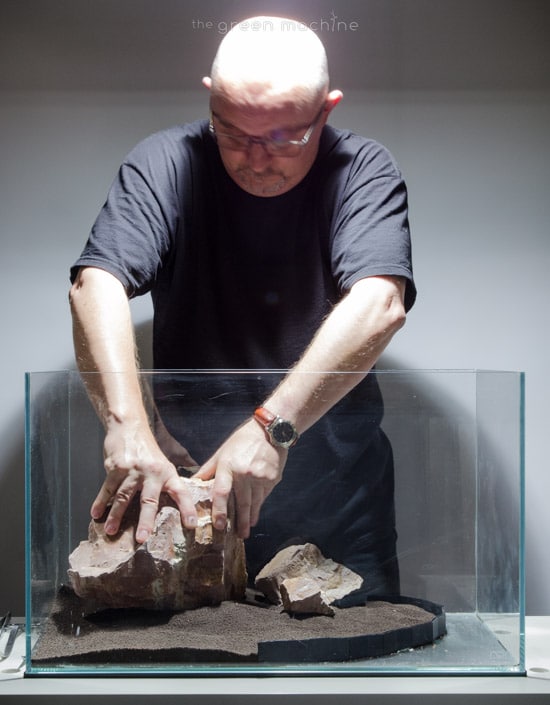
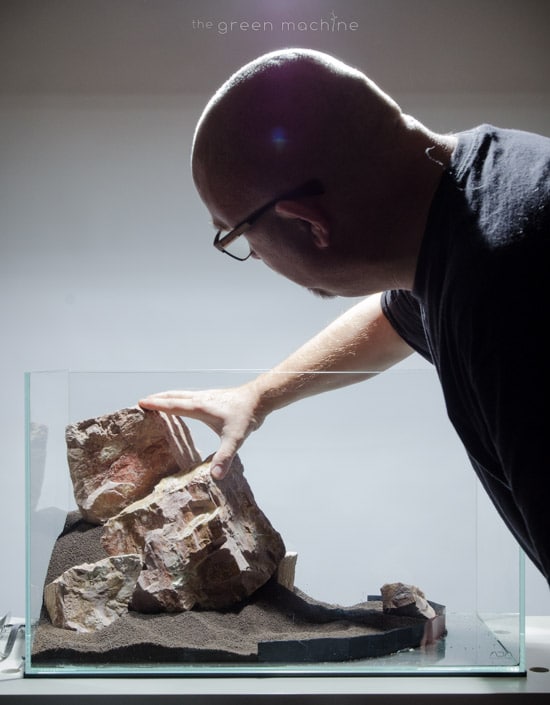
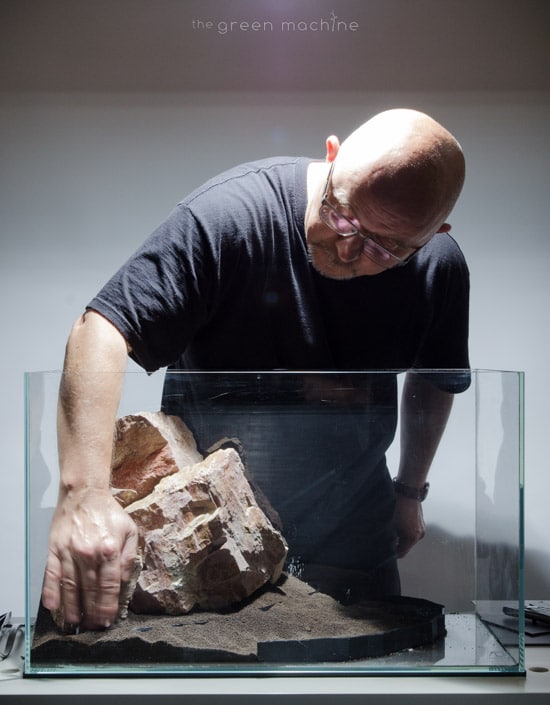
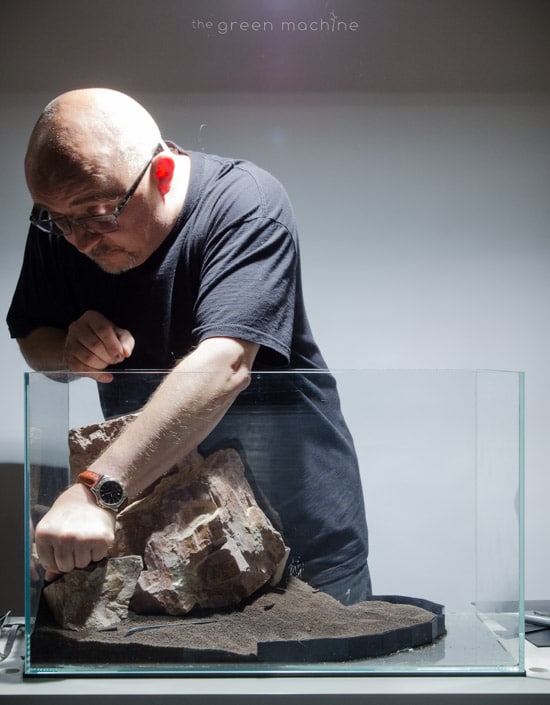
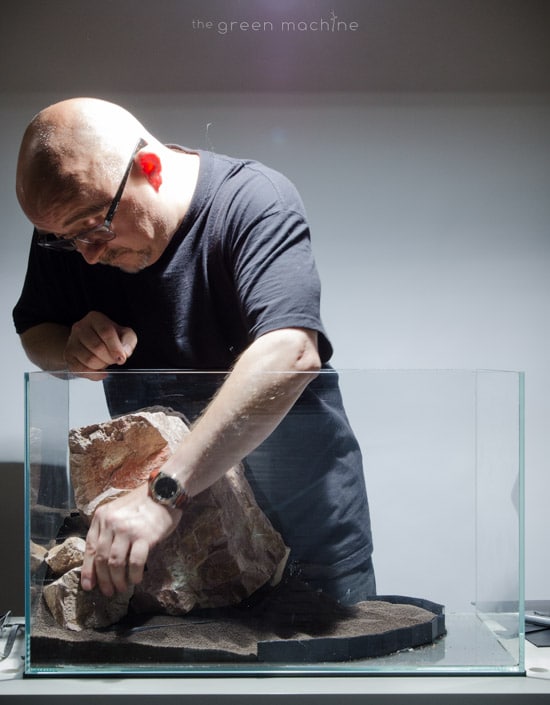
You can see James making minute changes to the stones positions and angles, and constantly assessing them to ensure he is happy with the results.
This stage of an aquascapes’s creation often requires a degree of patience, and is best not rushed.
You can start to see the cliff like structure coming together.
6:11
You can see how James carefully builds up height in the substrate in order to allow the hardscape to reach up nearly to the top of the aquarium.
6:35
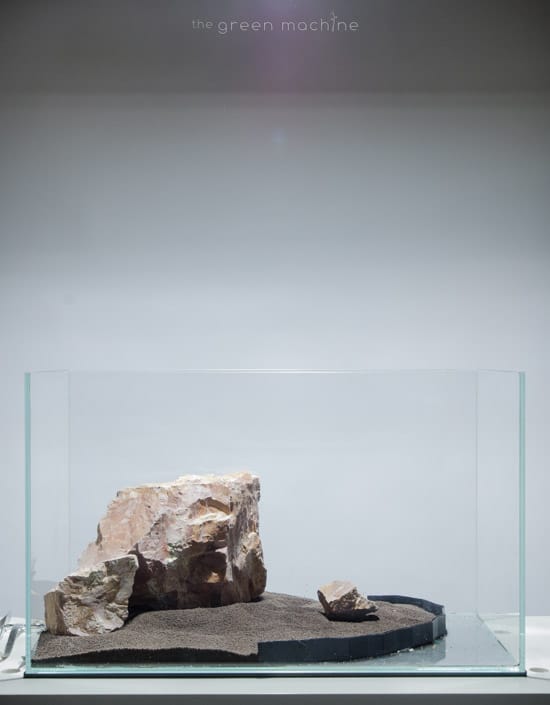
The second largest stone is finally added the the back corner of the layout.
A smaller stone is placed a small distance below.
The overall effect is that of a steep cliff slope- an Escarpment. The grouping of stones now feels like one rock formation.
7:14
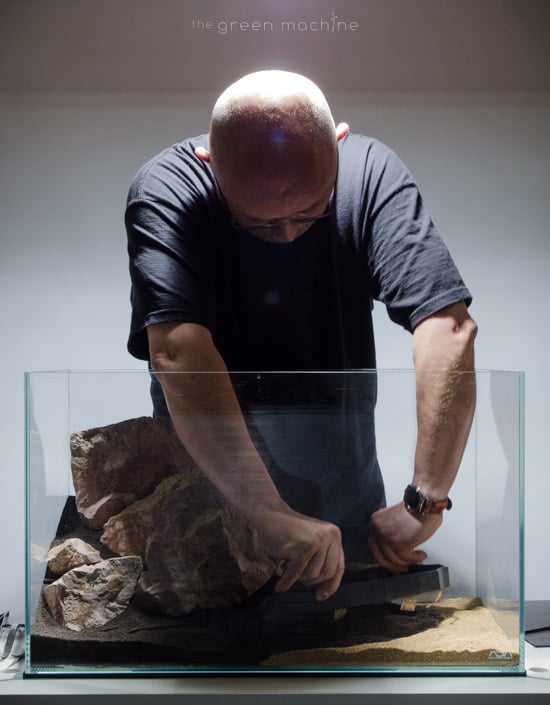
TGM Substrate Supports are now used to secure the substrate and hardscape in place. If these were not used, the substrate would simply roll down the slopes after water is added, destroying the layout.
James developed his substrate support system in order to achieve the kind of layouts that were previously impossible, except in ones imagination!
It is now our pleasure to provide these to our customers so they can replicate this technique in their own layouts.
7:43
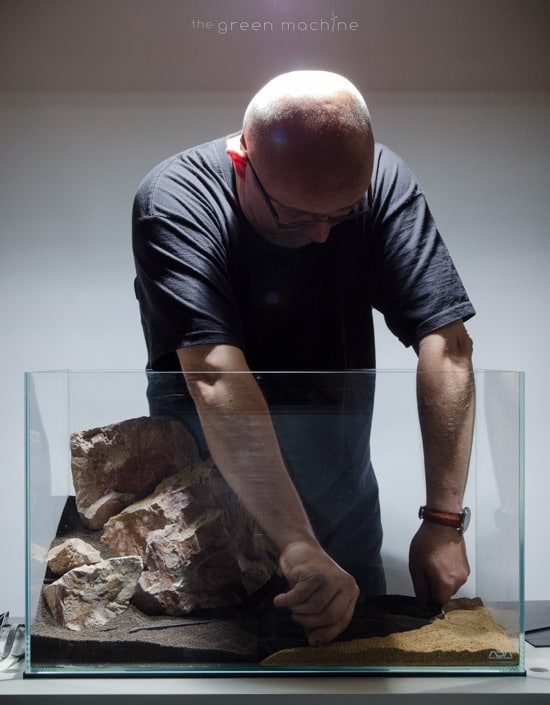
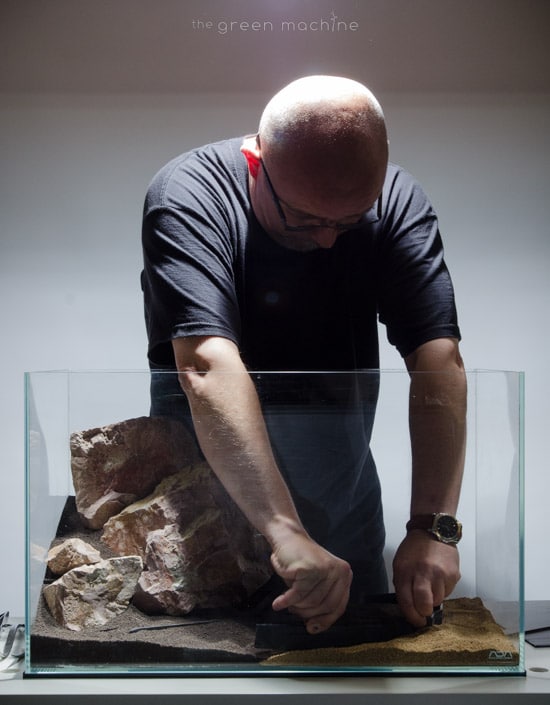
The Substrate Supports are cut to size so they are a little shorter than the height of the substrate in the desired location… then they are pushed into the substrate until they disappear, or are only visible slightly. Extra substrate can be used to cover them and they will later be fully concealed by aquatic plant growth.
8:30 (or a bit earlier)
Substrate Supports should be placed on all available slopes, around the hardscape.
8:51
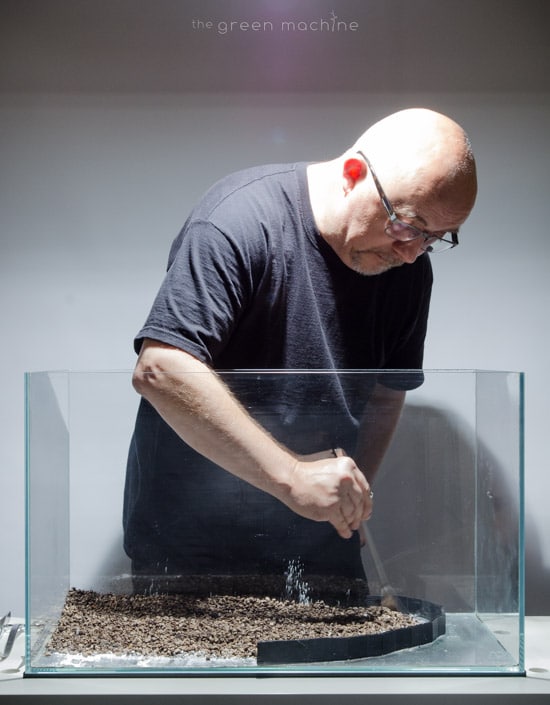
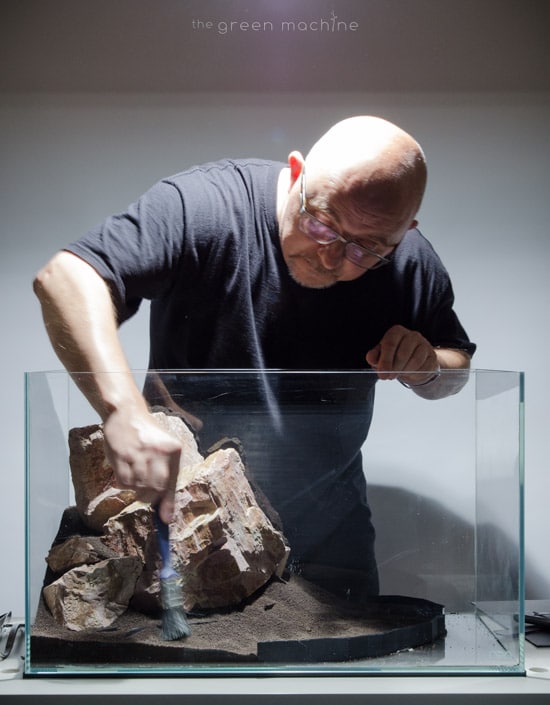
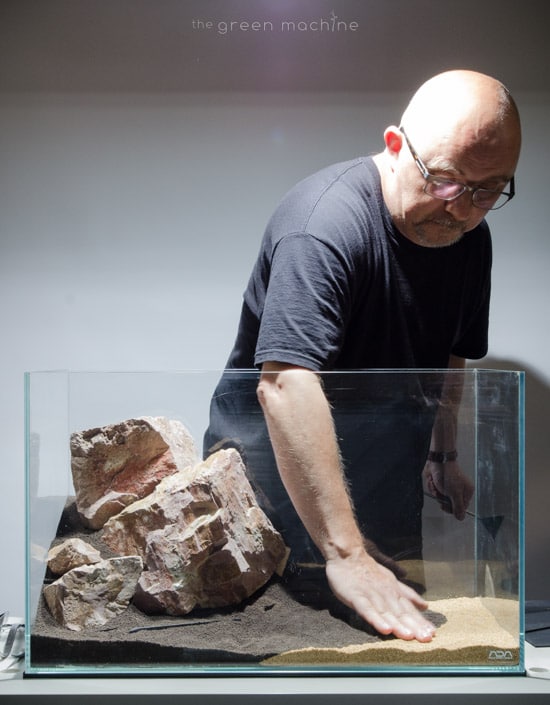
James uses a paintbrush to smooth the Aqua Soil into it’s final position before the planting stage.
9:09
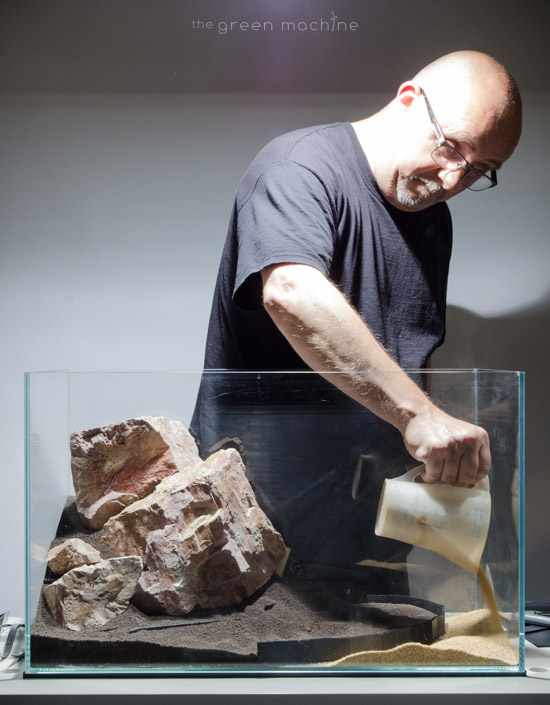
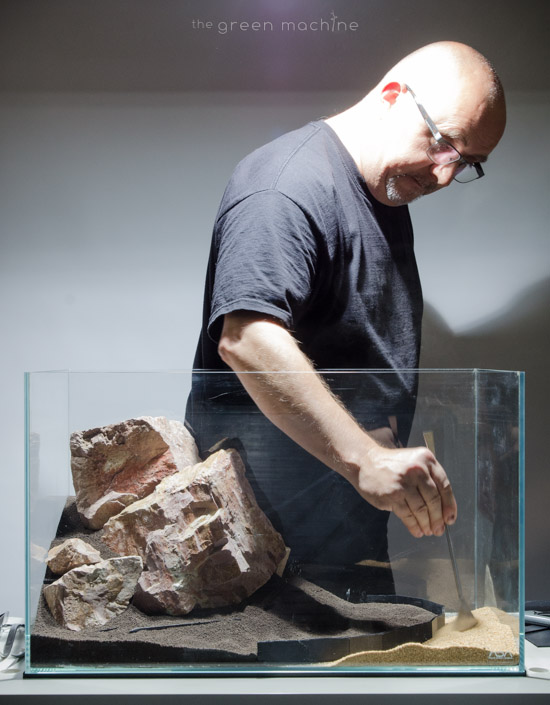
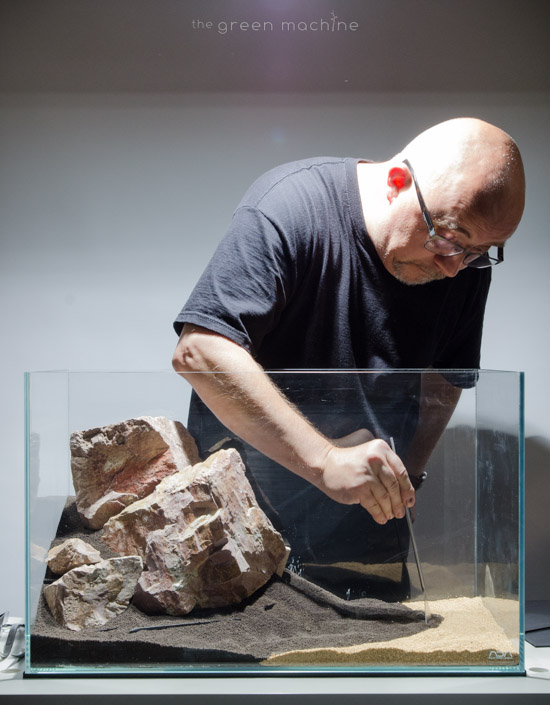
Sand is added on the other side of the divider. This will create an area without plants and provide space in the final composition and a contrasting area of brightness.
Again this is smoothed with a Sand Flattener.
9:40
The divider is carefully and slowly removed in order to minimise the unaesthetic mixing of Aqua Soil and Sand.
Now James tidies this area before proceeding.
10:19
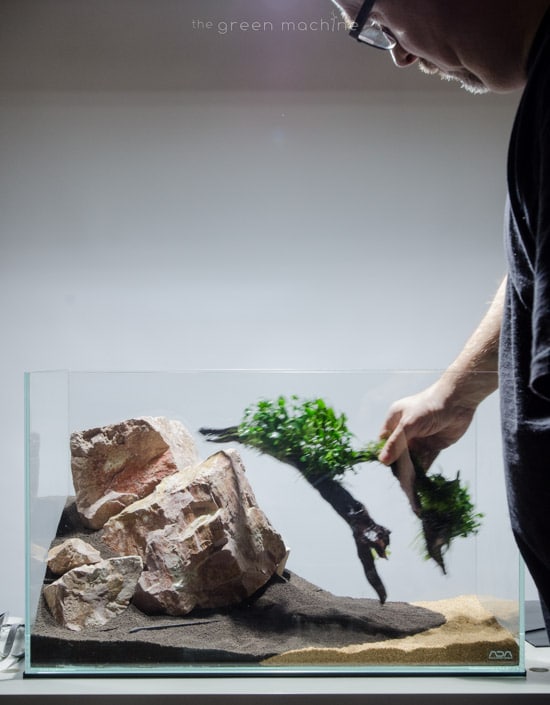
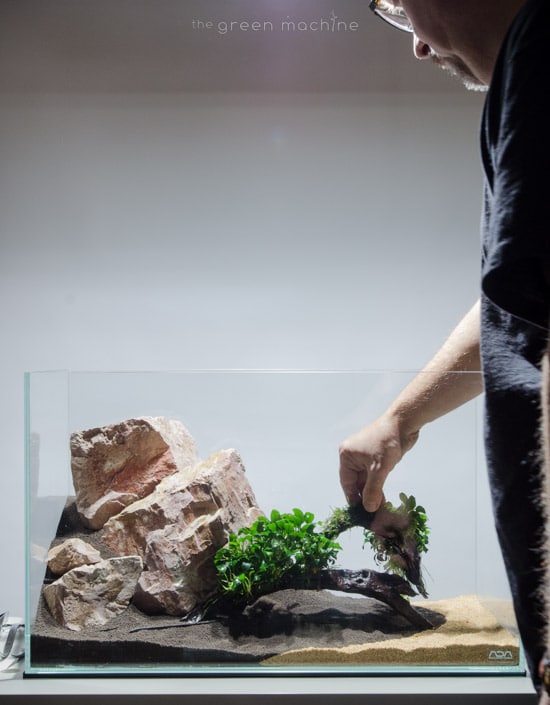
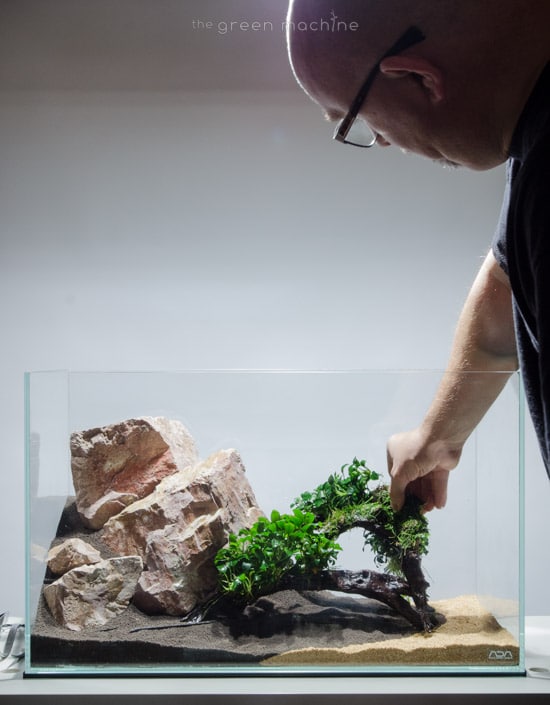
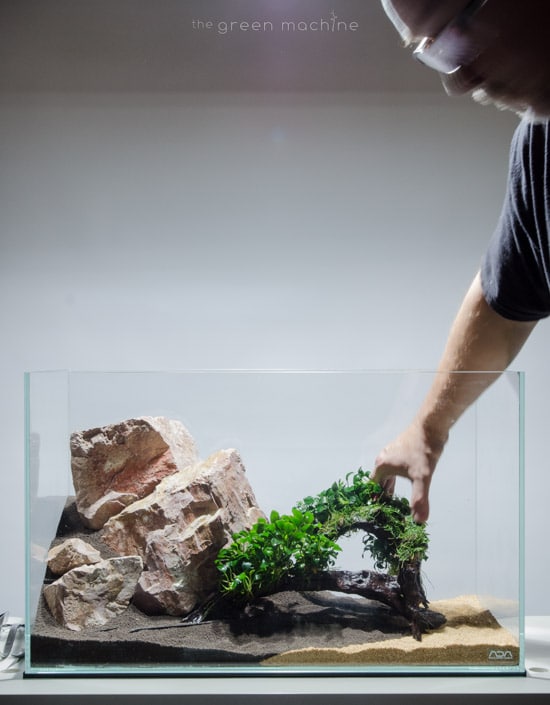
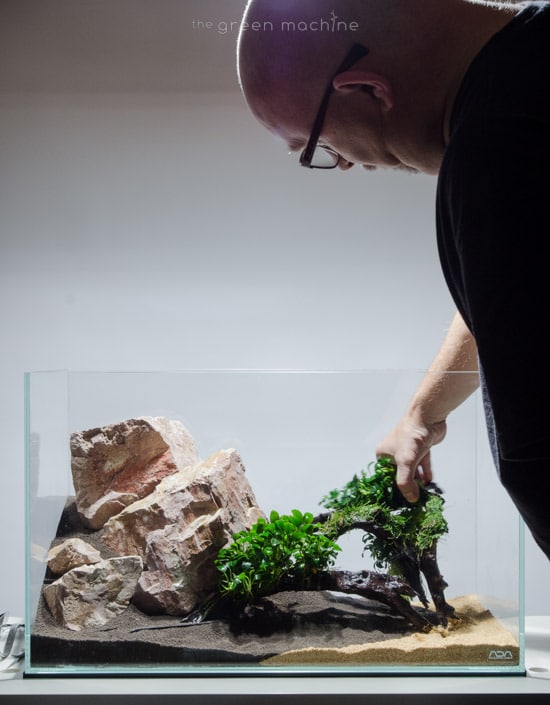
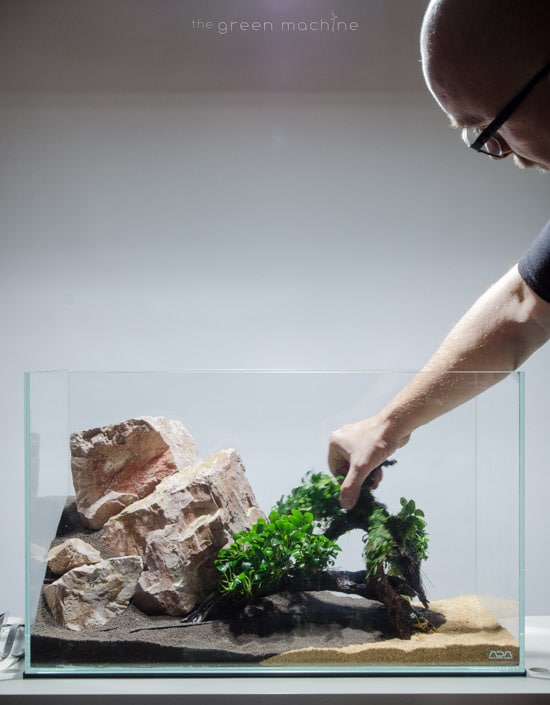
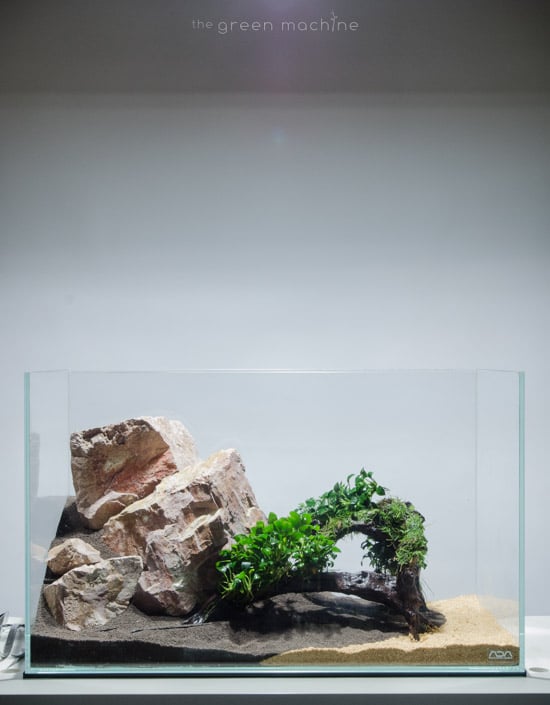
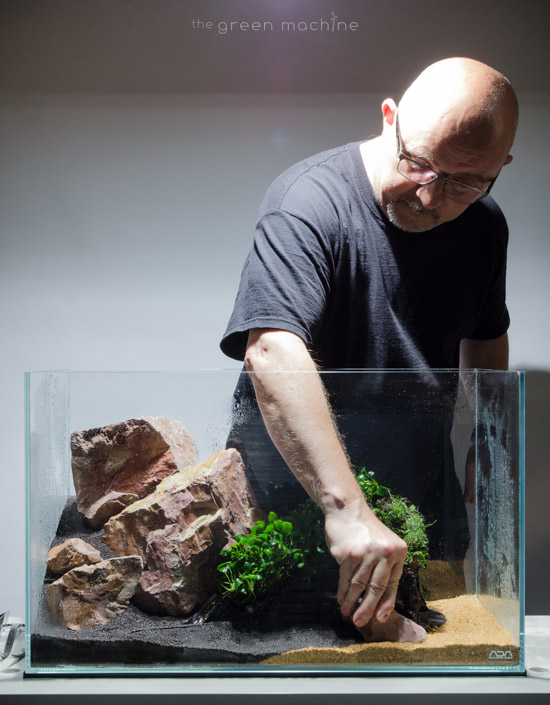
The final elements of hardscape are some pieces of ADA Horn Wood which James has attached plants to.
Anubias petite can be seen at either side, while there is some Vesicularia dubyana ‘Christmas’ moss tied to the centre.
10:52
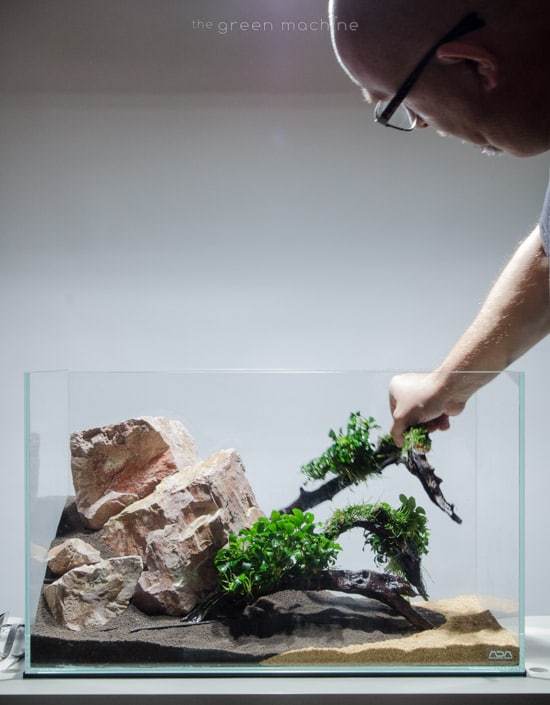
The following pieces features the same two plant species.
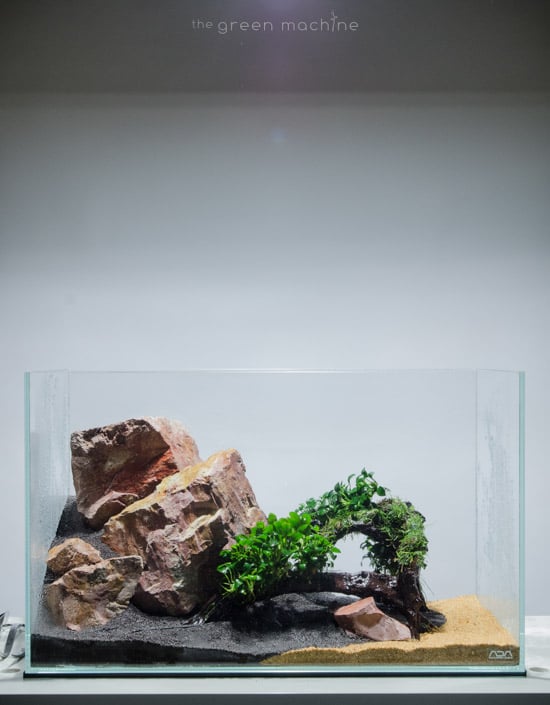
James places the wood between the stone and sand sections, casting dark contrasting shadows and providing shelter for fish and shrimp.
ADA Horn Wood is heavy and sinks without any need to pre-soak, this property, as well as it’s beautiful natural texture and shapes make it ideal for aquascaping.
12:22
A final stone is added in front of the wood to bring the two types or hardscape together into one natural feeling whole.
12:33
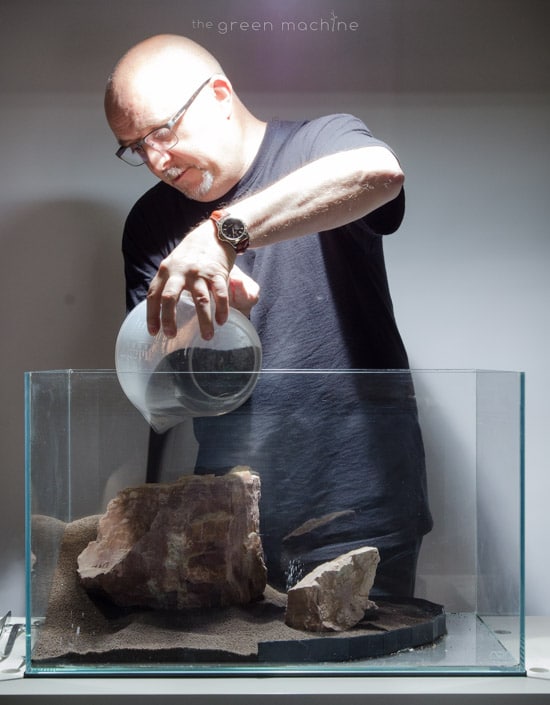
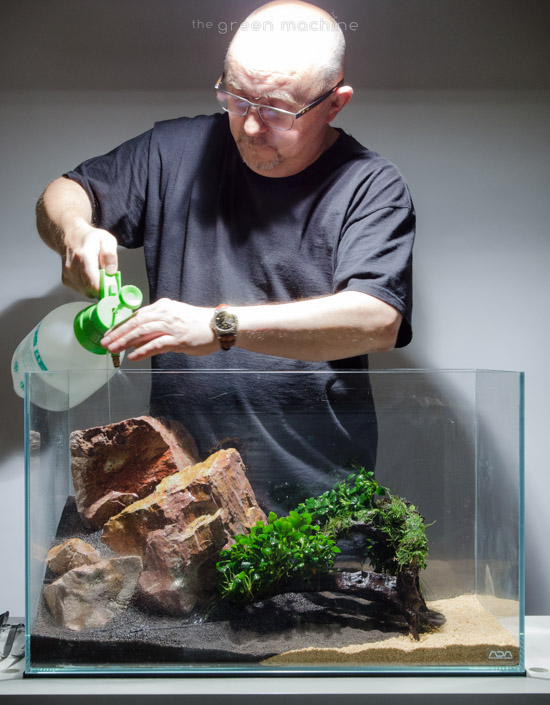
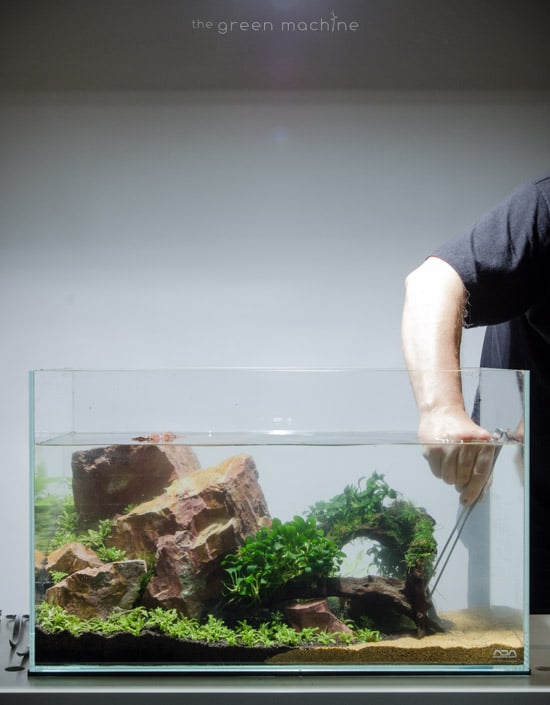
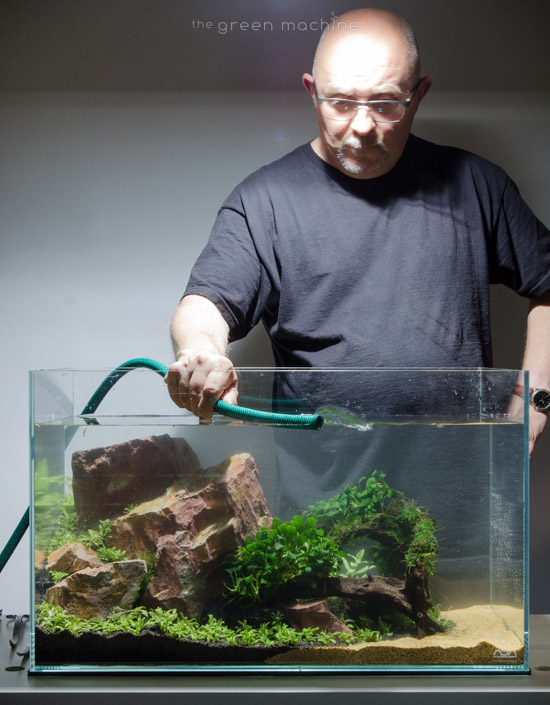
The aquarium is slowly filled with water before the planting stage.
12:45
Planting commences!
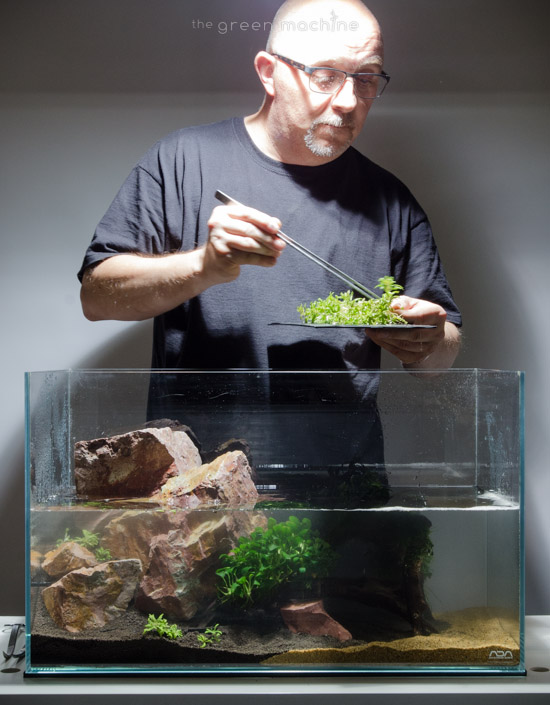
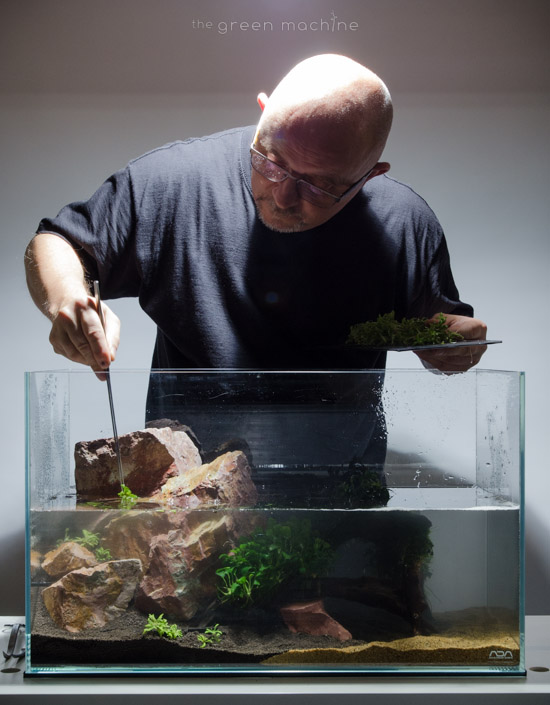
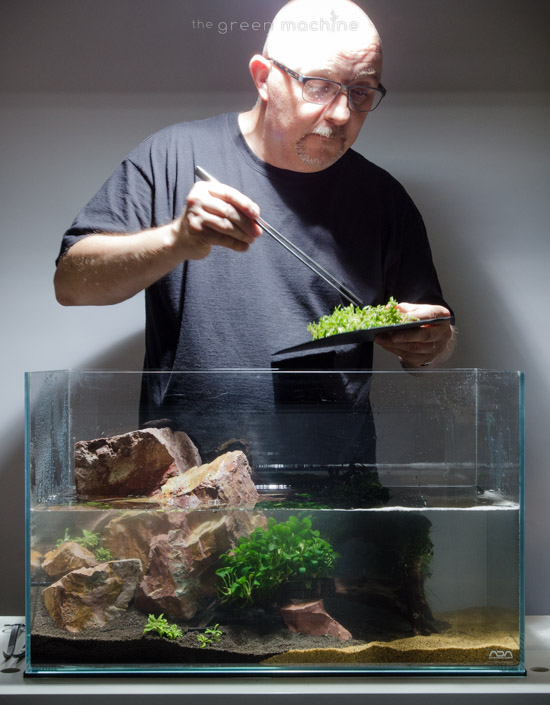
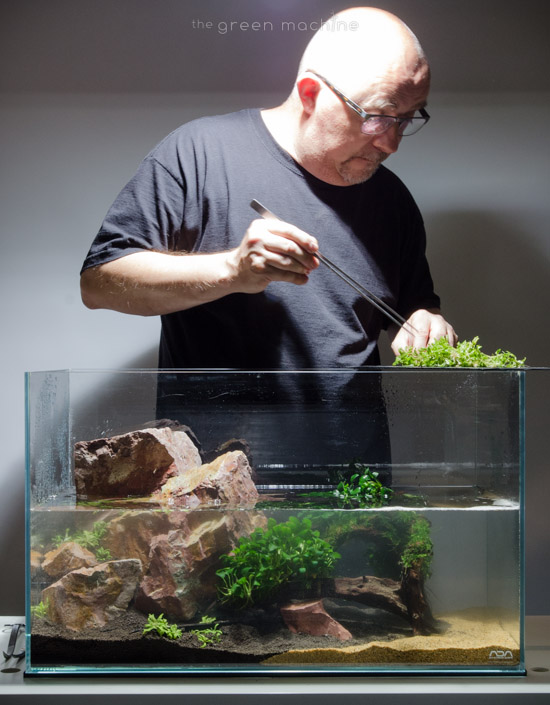
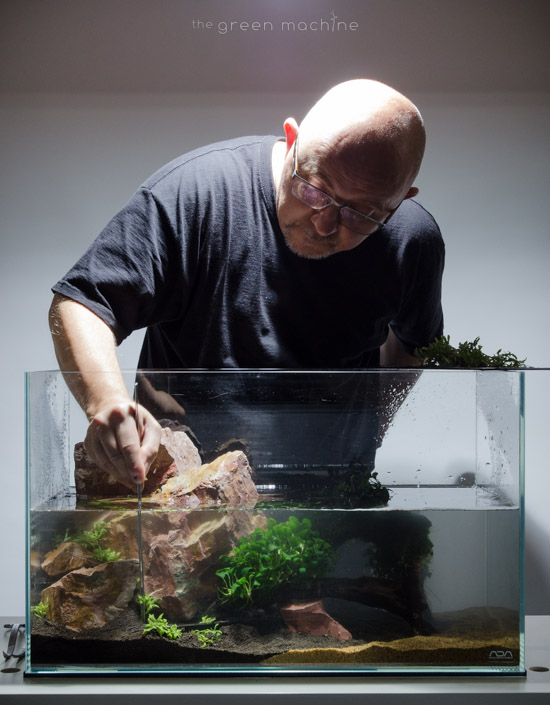
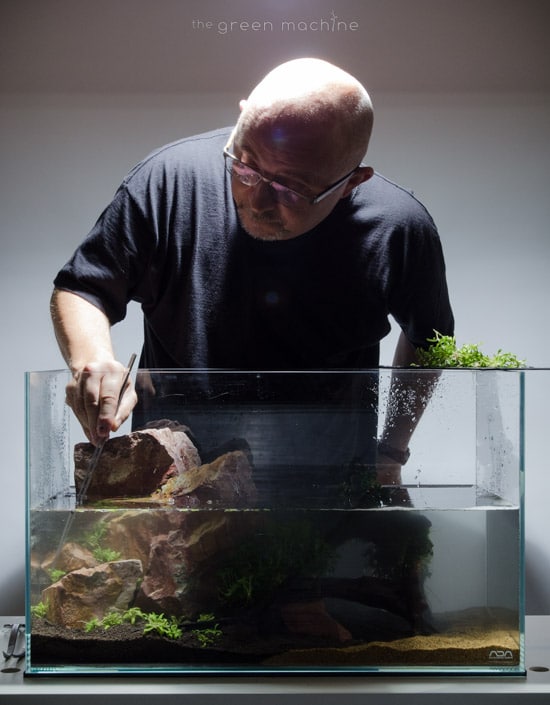
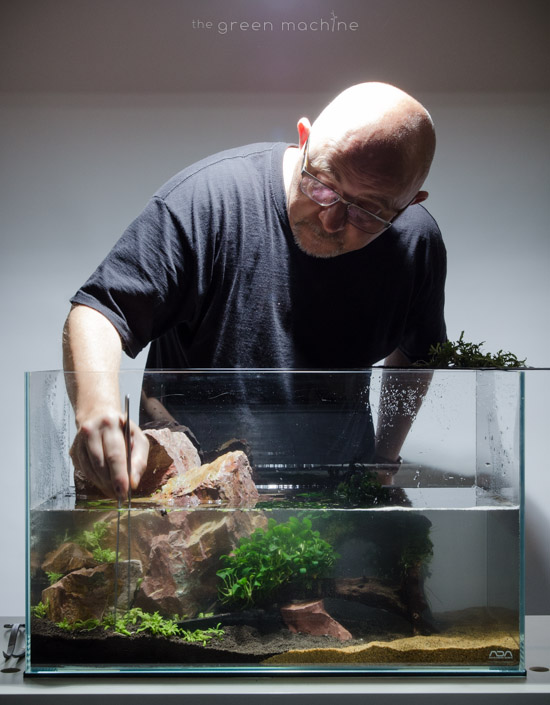
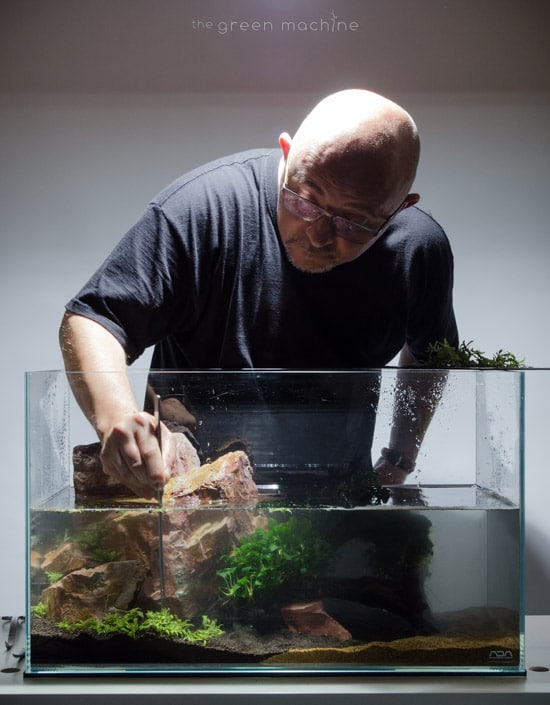
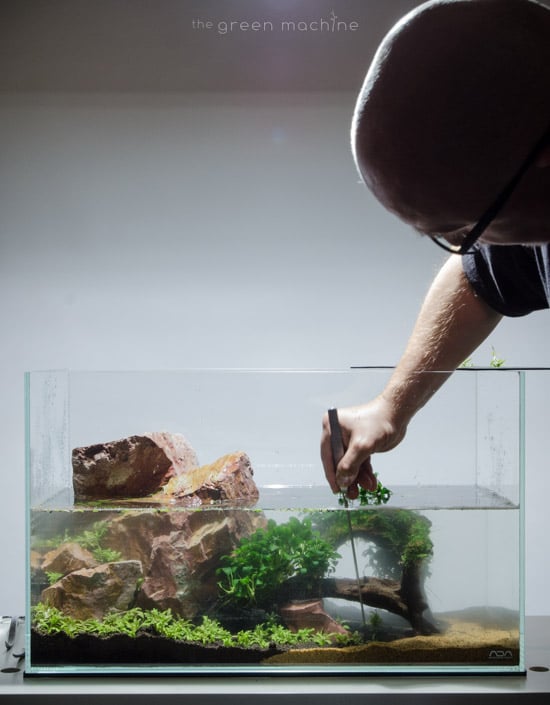
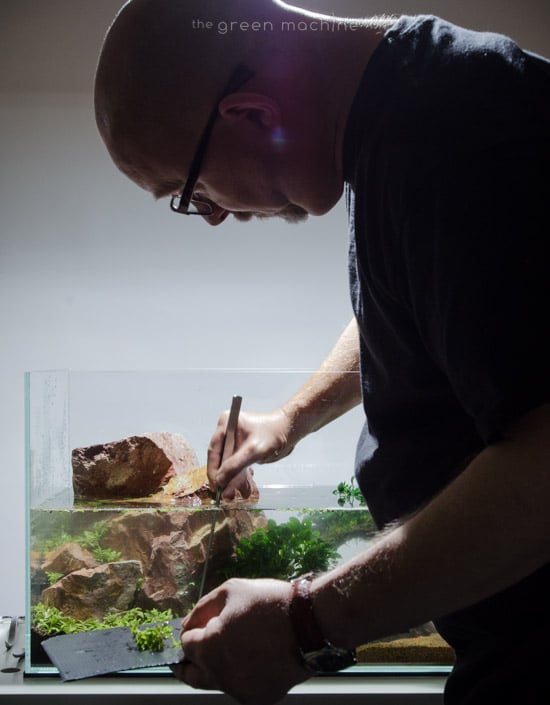
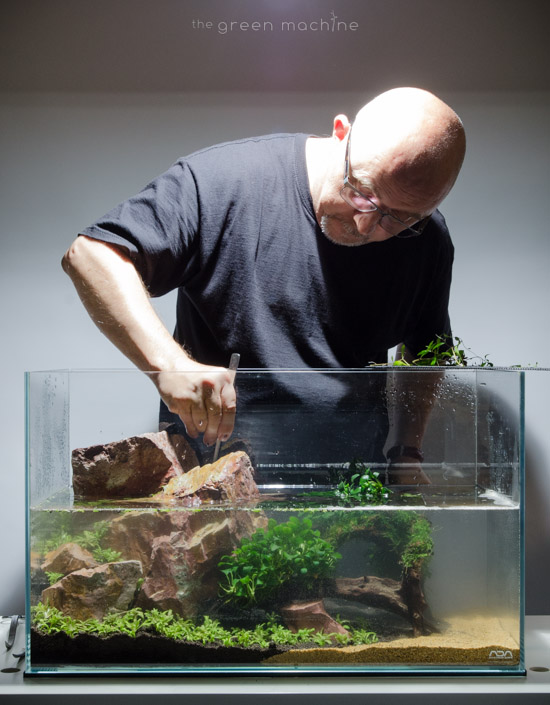
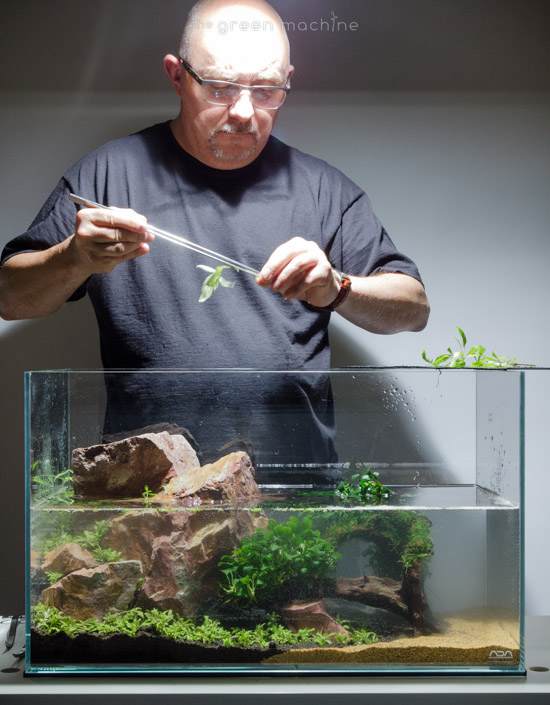
Pogostemon helferi has been prepared into small planting plugs which James places one by one into the substrate using aquascaping pinsettes. This tool is invaluable to an aquascaper as this task is simply not possible using fingers alone.
Here James uses the Pogostemon as a carpeting plant, covering the aquarium base densely. It doesn’t grow higher than about 10cm and is often shorter, especially under high intensity lighting. Good, sufficient lighting is important for all plants which will tend to stretch for the light if they are not receiving enough, resulting in leggy growth. Therefore good lighting is especially important for aquascapers who aim to achieve a carpeting effect.
14:05
Hygrophila polysperma ‘Rosanervig’ is added across the middle, to the back right hand corner.
Under intense light this plant’s leaves can turn deep-pink, so bare that in mind when using it in your layouts. Once again, aquascaping pinsetters are used to deliver the plants to the substrate.
14:52
Next some Hygrophila corymbosa ‘Siamensis 53B’ is added at the back left corner of the aquarium, when this grows it will rise right to the surface of the water, helping complete the composition that James envisioned.
15:51
Some more moss is added near the back, behind the hardscape. This will mostly be visible when viewing the aquarium from an elevated angle.
16:…
James constantly checks his plant placements- visualising how the plants will grow over time. He always advises aquascapers to work with as many plant species as possible as this will give more choices for future creations. Once you know how a plant will grow over time, you can consider it in each place in the aquarium, and make informed decisions during the planting stage.
16:21
Some more moss is wedged between the rocks. Once grown in this will fill the hole and look like flat growth clinging to the rock surface beneath.
16:41
Another piece of Kei stone is added under the wood, this one has had Vesicularia dubyana ‘Christmas’ moss attached to it.
16:58
Now that the planting is complete the aquarium is filled to the top.
17:24
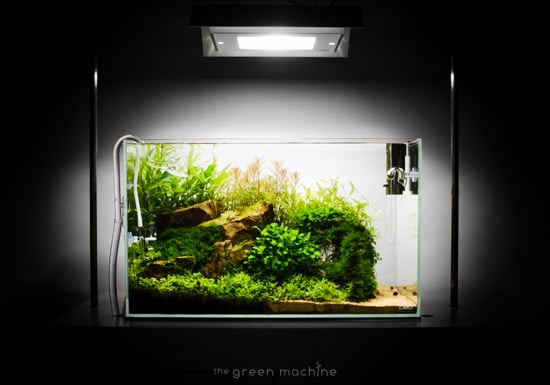
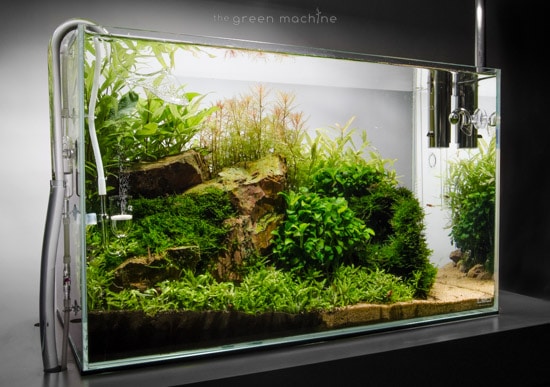
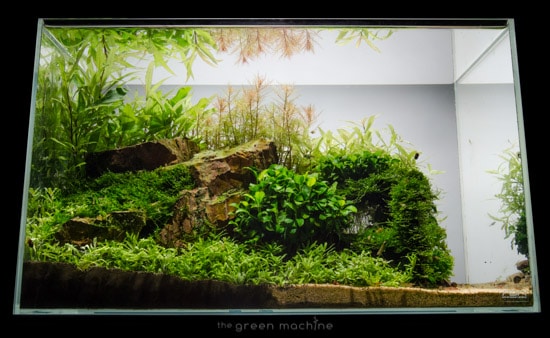
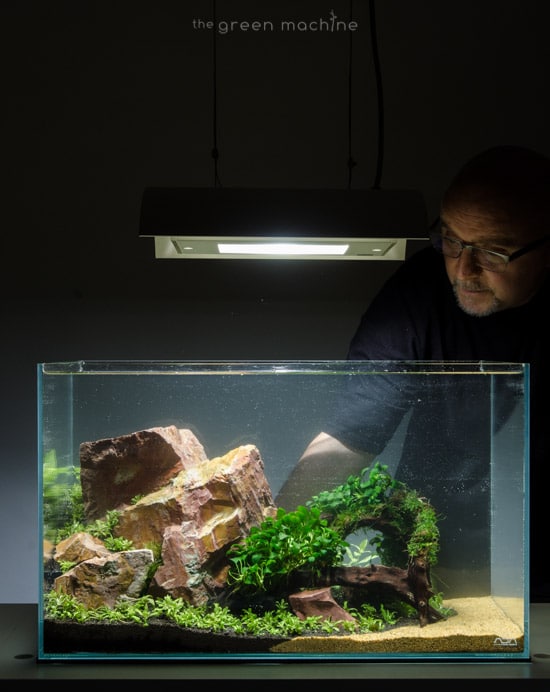
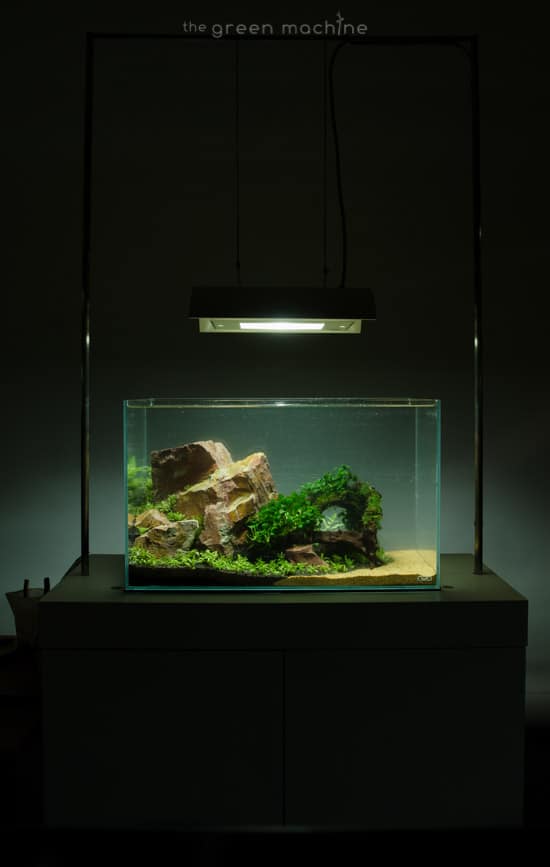
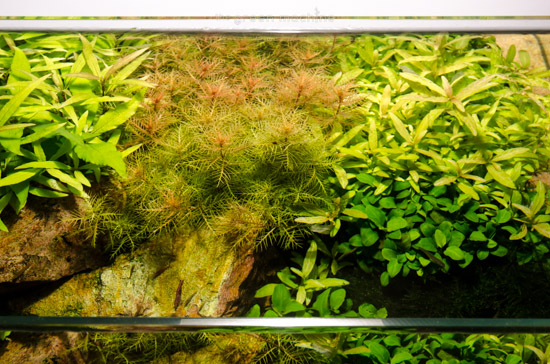
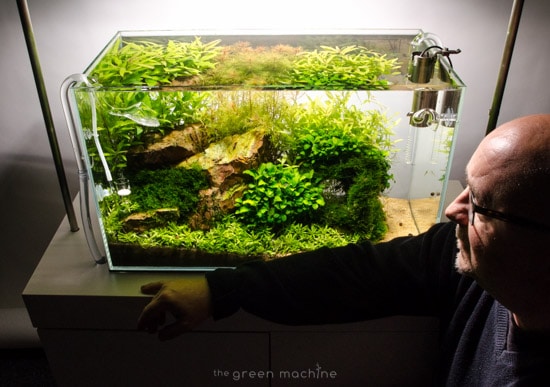
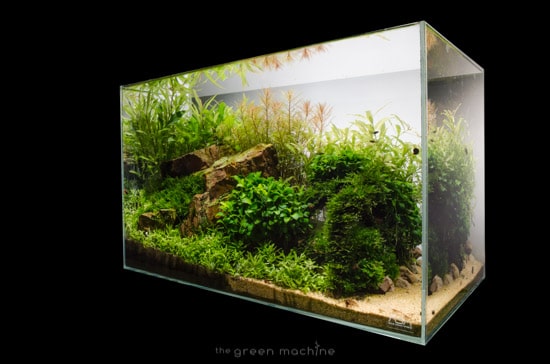
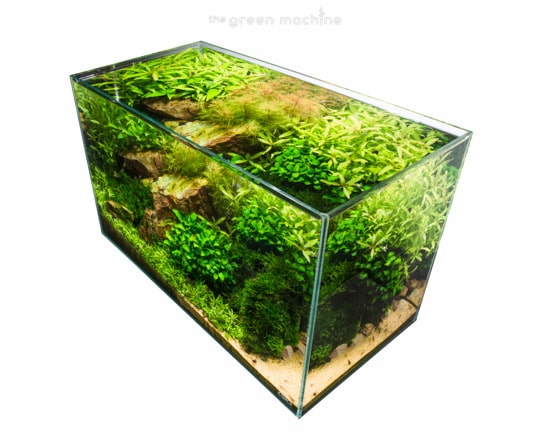
After 8 months with maintenance carried out by James and The Green Machine team, the aquascape has fully grown in.
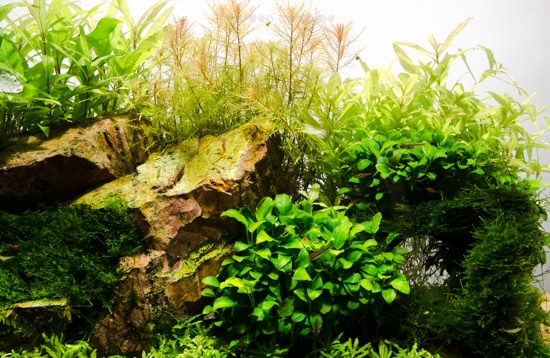
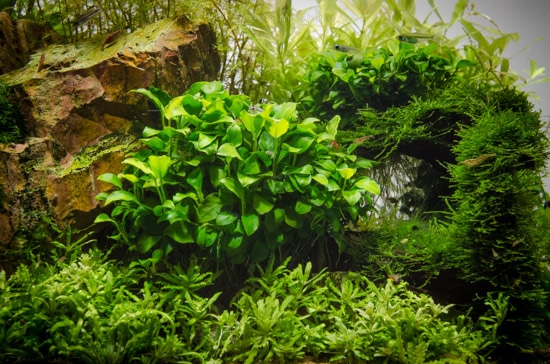
In the centre, the Anubias petite has filled out and is very healthy.
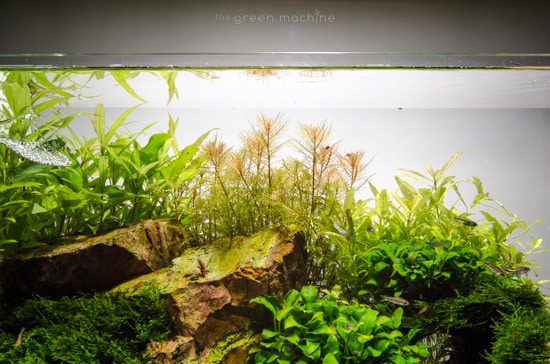
Prospernica palustris has been added at the back centre, rising up behind the Kei stone, first complementing the stone’s red hues with its green foliage, and then reflecting them in its pink tips.
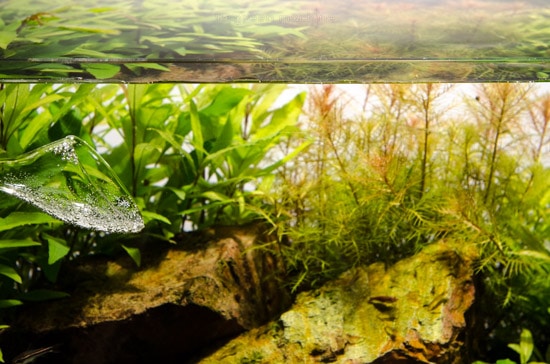
The Hygrophila corymbosa ‘Siamensis 53B’ has grown tall, reaching the water surface, drawing the viewers eye upwards.
The layout as a whole delivers a luscious area of growth, with the stone softened somewhat and the wood providing a frame for plant growth.
The fish that have been added are; Rasbora brigittae, Rasbora Kubotai, Corydoras pygmaeus and Norman’s Lampeye. These were all deliberately chosen for their small size, to enhance the feeling of a large landscape within the layout.
18:12
Tiger and Cherry Shrimp graze on algae which grows on the stones… they act as small cleaners for the maintenance team.
Light backgrounds can look like clear skies behind the foliage of aquatic plants.
19:07
Here you can see the aquascape with glass filter inlet and outlet pipes, glass CO2 diffuser, CO2 Checker, and VUPPA surface skimmer. This is a full ADA System and the overall quality can be seen here.
19:42
Here you can see CO2 gas being diffused into the water using a ceramic diffuser. To the left you can see a bubble counter outside of the aquarium which is used to show the maintenance team how much CO2 is entering the aquarium- the current rate is approximately 2 bubbles per second.
20:12
Now you can see an ADA Cabochon Ruby which is a CO2 non-return valve, this prevents aquarium water flowing backwards through the silicon tube towards the regulator when the CO2 supply is switched off.
20:31
Surface skimmers can be used to gently remove floating debris from the surface of the water. This is an ADA VUPPA which is a highly effective and well designed piece of hardware.
James is very happy with the grown in the layout. He achieved his desired intention of using the moss to create a sense of age. And he succeeded in fulfilling his vision of a rock face dropping down to a jungle-like plane below.
21:40
The taller plants move in the gentle flow from the filter outlet pipe.
22:00
A snail moves slowly along the inside of the glass.
22:10
The overall layout is a stunning example of what can be achieved within a planted aquarium of an average size.
If you want to learn how to aquascape, or need help with your nature aquariums, you can watch our free videos and read articles on our website at www.thegreenmachineonline.com where there is a wealth of information and step by step tutorials.
We help our customers achieve stunning planted tanks, we’ve helped thousands of people learn to aquascape, and we’re still counting.
We hope you have enjoyed this video. Look out for more of our releases in the future, and please subscribe to our channel to be kept up to date.

Wow! This is amazing! What filter is used for this size tank?
Thank you.